
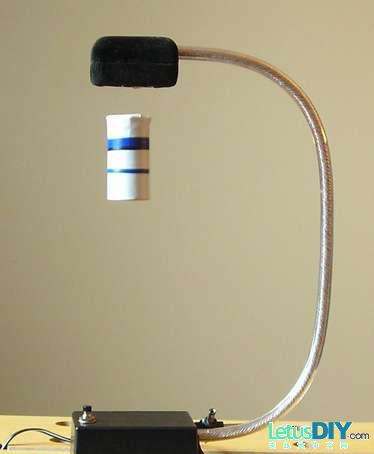
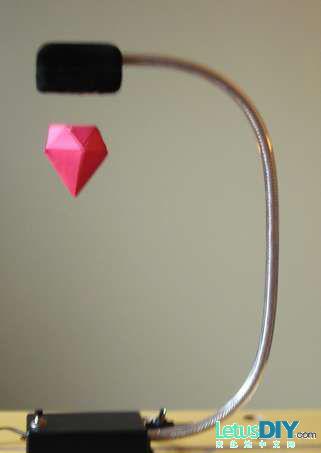
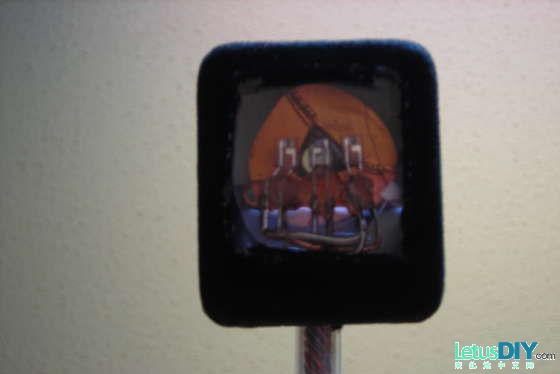
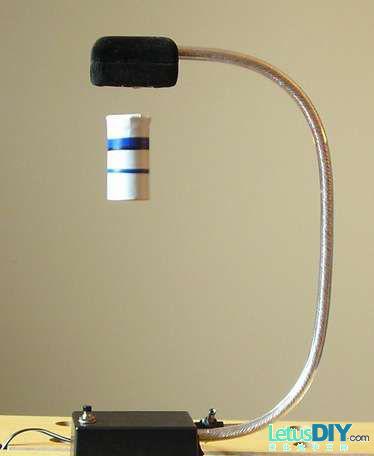
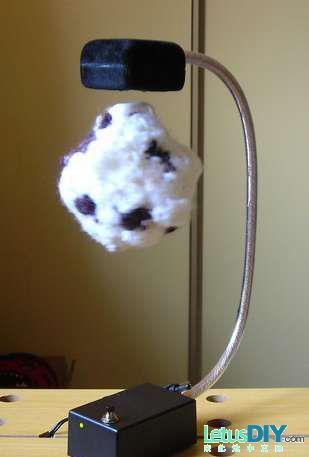
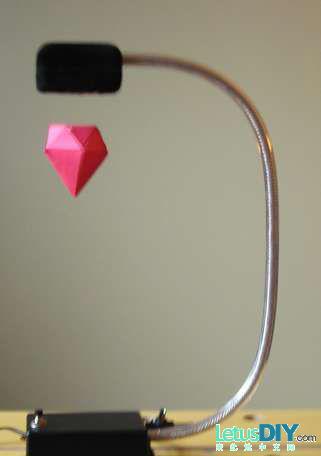
就像在商店里卖的漂浮地球仪一样,它可以让带有磁铁的物体浮在空中,只不过这个装置结合了永磁铁和电磁铁,利用一个微控制器和一个IR感应器,当内部装有磁铁的小物体放在电磁铁的下方,IR感应器就会感应到物体的存在,微控制器就会启动电磁铁并调整磁力大小,当小物体受到向上的磁力和向下的重力相同时,它就会漂浮在空中,漂浮的位置和高度取决于重量和磁力大小。
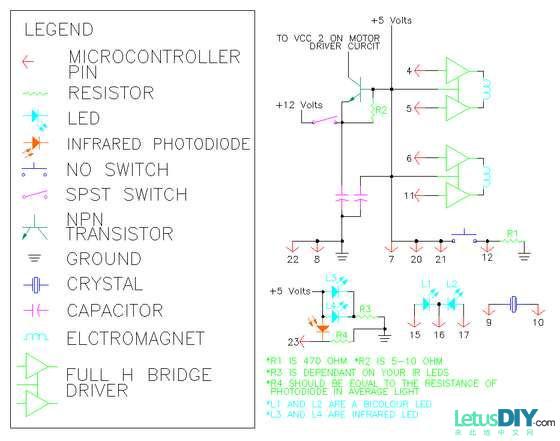
工作原理图如下:
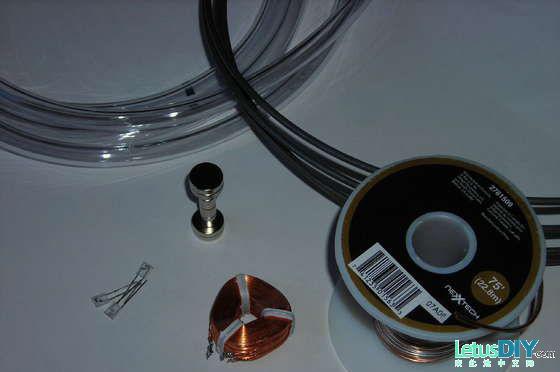
一、材料准备
所需材料如下:
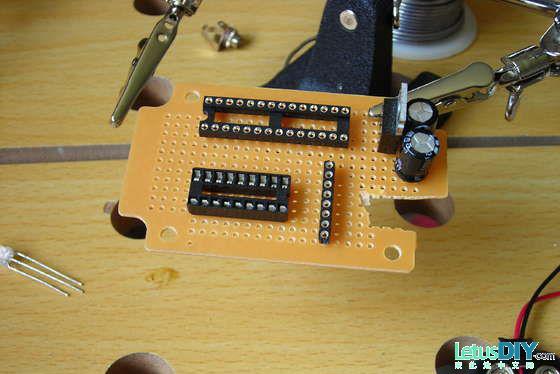
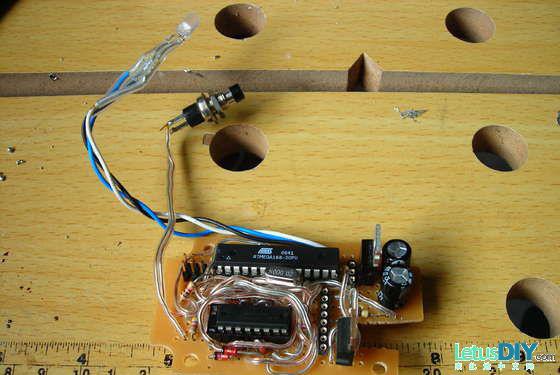
- ATMega168 Microcontroller
- 1 16-20 MHz Crystal
- 28 Pin Socket
- Dual Full H Bridge IC
- 1 Power NPN
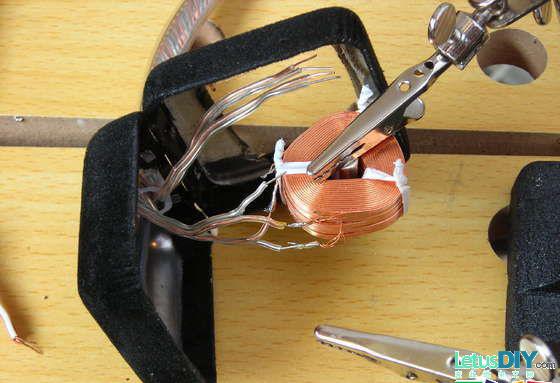
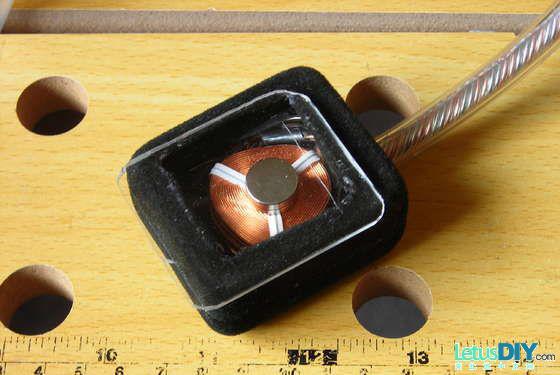
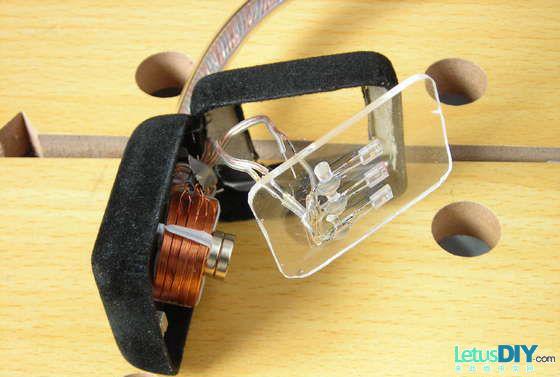
- 2 Electromagnets
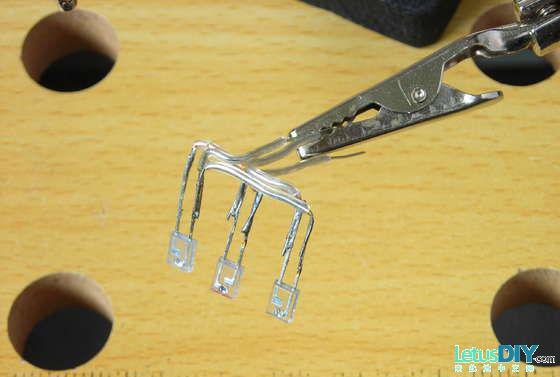
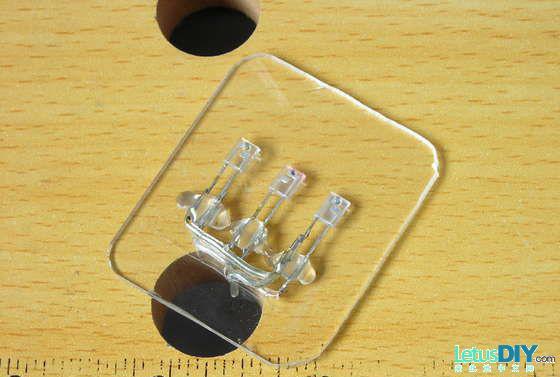
- 1 Bicolour LED
- 2 IR LED
- 1 IR Photodiode
- 1 5V Regulator
- 2 Leveling Capacitors
- 1 SPST Switch
- 1 NO Button
- 1, 470 Ohm Resistor
- 1, 5 Ohm Resistor
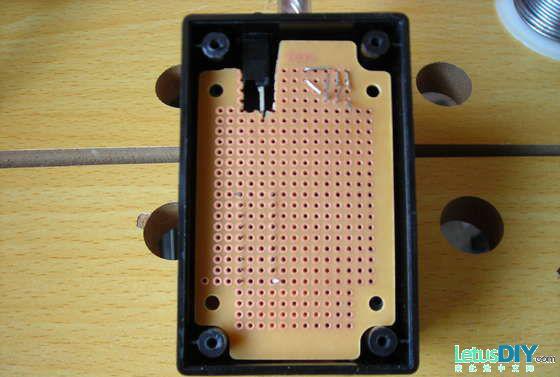
- 1 Universal Breadboard
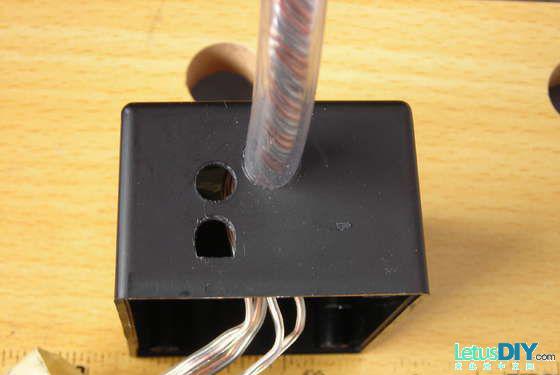
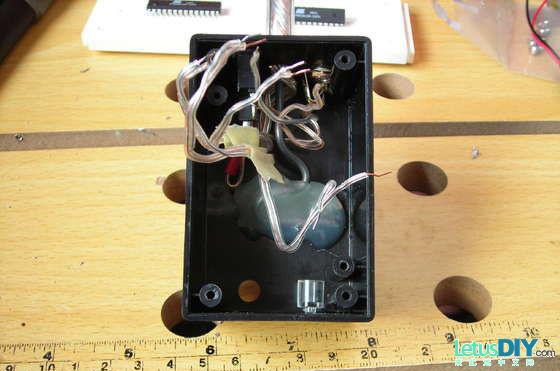
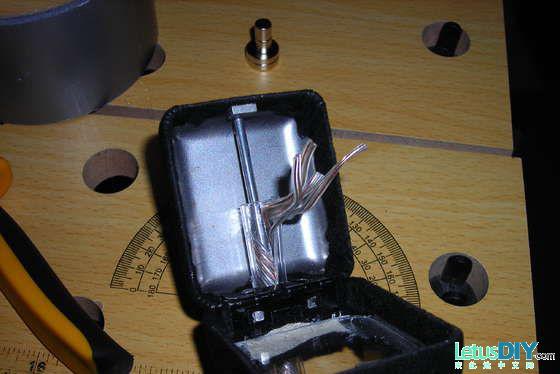
- 2 Cases
- Plexiglas
- Solder
- Hot Glue
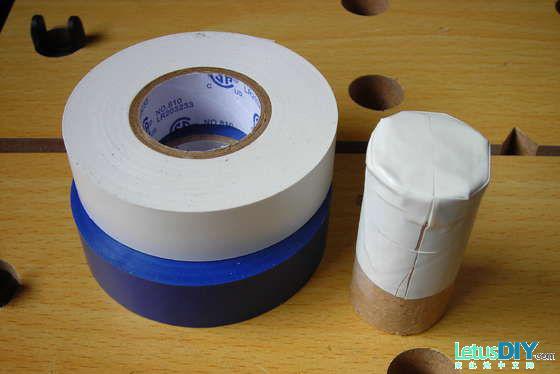
- Steel Wire
- Vinyl Tubing
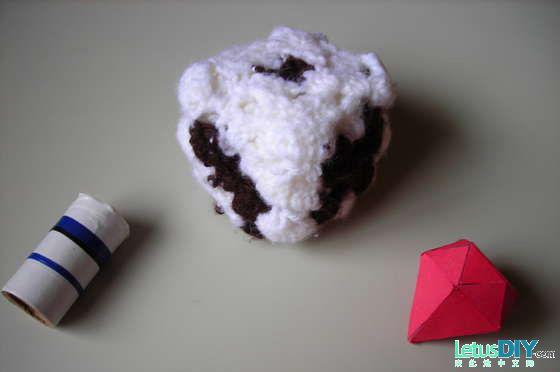
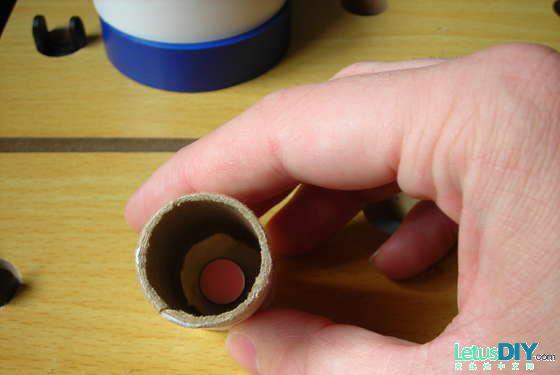
- 3 or more 1/4" diameter x 1/4" thick rare earth magnets (for the base)
- 2 or more 1/2" diameter x 1/8" thick rare earth magnets (for the objects)
所需工具:
- Soldering Iron
- Hot Glue Gun
- Desoldering Pump
- 3rd Hand
- Plexiglas cutter

 我要赚赏金
我要赚赏金 STM32
STM32 MCU
MCU 通讯及无线技术
 物联网技术
物联网技术 电子DIY
电子DIY 板卡试用
板卡试用 基础知识
基础知识 软件与操作系统
 我爱生活
我爱生活 小e食堂
小e食堂

