
任务五:【基础实验】(5)网络连接实验
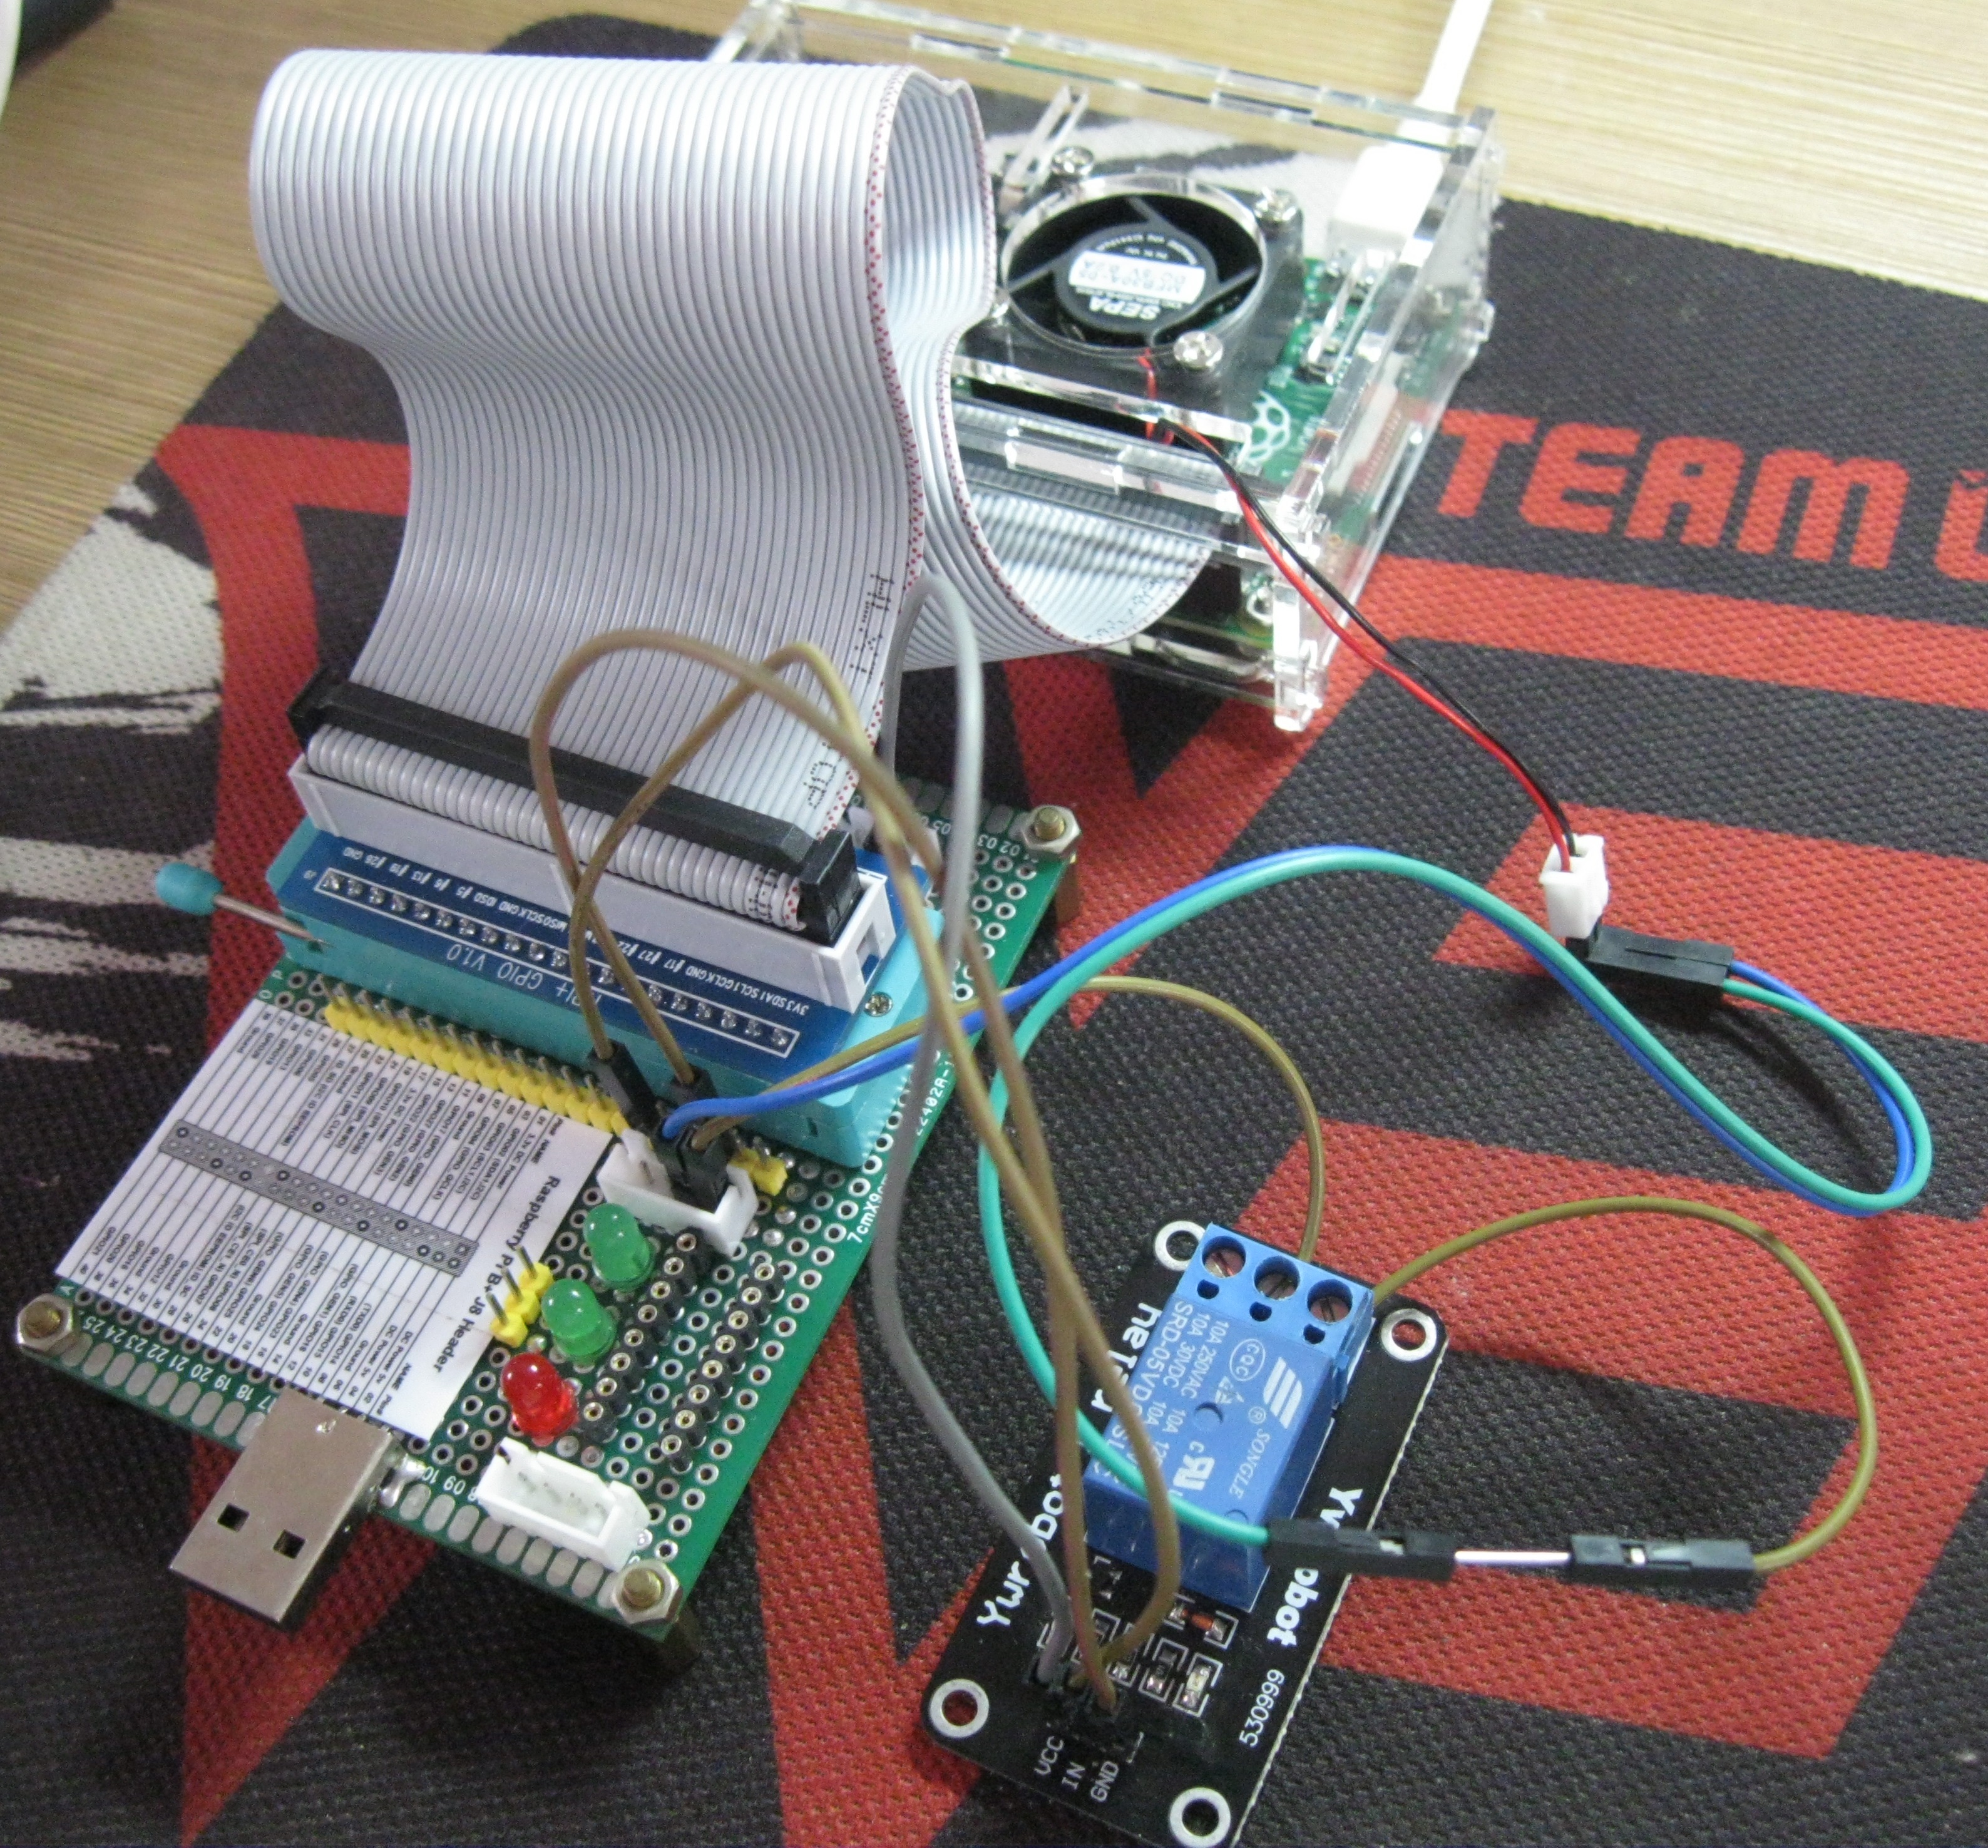
实际上,网络连接实验在之前的任务中已经涉及到了,所以在这个任务中想把一直都很感兴趣的Yeelink尝试一下,配合手中的小风扇和继电器(三极管驱动也行),给RPi做个简单的温控装置,并在Yeelink上观察温度变化。
工具:小风扇,继电器模块,去Yeelink上注册一个账户,并添加一个传感器(相关内容大家到网上找一下吧,我就不啰嗦啦)
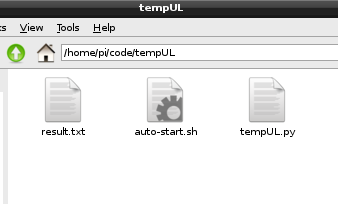
1、新建python脚本和result.txt,用来编写代码和存储温度记录
每3分钟检测一次温度,并上传至Yeelink,如果温度高于40度则启动风扇,代码如下:
#!/usr/bin/env python
# -*- coding: utf-8 -*-
import requests
import json
import time
import RPi.GPIO as GPIO

def main():
    GPIO.setmode(GPIO.BOARD)
    GPIO.setup(12,GPIO.OUT)

    fileRecord = open("result.txt", "w")
    fileRecord.write("connect to yeelink\n");
    fileRecord.close()
    while True:
        # 打开文件
        file = open("/sys/class/thermal/thermal_zone0/temp")
        # 读取结果,并转换为浮点数
        temp = float(file.read()) / 1000
        # 关闭文件
        file.close()

        # 控制继电器,CPU温度高于40度时,吸合,启动风扇
        if temp > 40 :
            GPIO.output(12,GPIO.LOW)
        else:
            GPIO.output(12,GPIO.HIGH)

        # 设备URI
        apiurl = 'http://api.yeelink.net/v1.0/device/13938/sensor/23142/datapoints'
        # 用户密码, 指定上传编码为JSON格式
        apiheaders = {'U-ApiKey': '888faf021ceb05c1f5f4039fcc10****', 'content-type': 'application/json'}
        # 字典类型数据,在post过程中被json.dumps转换为JSON格式字符串
        payload = {'value': temp}
        #发送请求
        r = requests.post(apiurl, headers=apiheaders, data=json.dumps(payload))

        # 向控制台打印结果
        fileRecord = open("result.txt", "a")
        strTime = time.strftime('%Y-%m-%d:%H-%M-%S',time.localtime(time.time()))
        fileRecord.writelines(strTime + "\n")
        strTemp = "temp : %.1f" %temp + "\n"
        fileRecord.writelines(strTemp)
        fileRecord.writelines(str(r.status_code) + "\n")
        fileRecord.close()

        time.sleep(3*60)

if __name__ == '__main__':
    main()
2、设置开机自动启动
新建脚本:auto-start.sh
#!/bin/bash
cd /home/pi/code/tempUL
python tempUL.py &
tips:& 表示脚本后台运行
切换到auto-start.sh所在目录,更改权限:
sudo chmod a+x auto-start.sh修改/etc/rc.local,在exit 0之前增加一行
#!/bin/sh -e
#
# rc.local
#
# This script is executed at the end of each multiuser runlevel.
# Make sure that the script will "exit 0" on success or any other
# value on error.
#
# In order to enable or disable this script just change the execution
# bits.
#
# By default this script does nothing.

# Print the IP address
_IP=$(hostname -I) || true
if [ "$_IP" ]; then
  printf "My IP address is %s\n" "$_IP"
fi

# 向yeelink上传树莓派CPU温度
/home/pi/code/tempUL/auto-start.sh start

exit 0
3、通过ps指令查看该脚本是否在后台运行
ps aux | grep tempUL.py

kill -s 9 2220
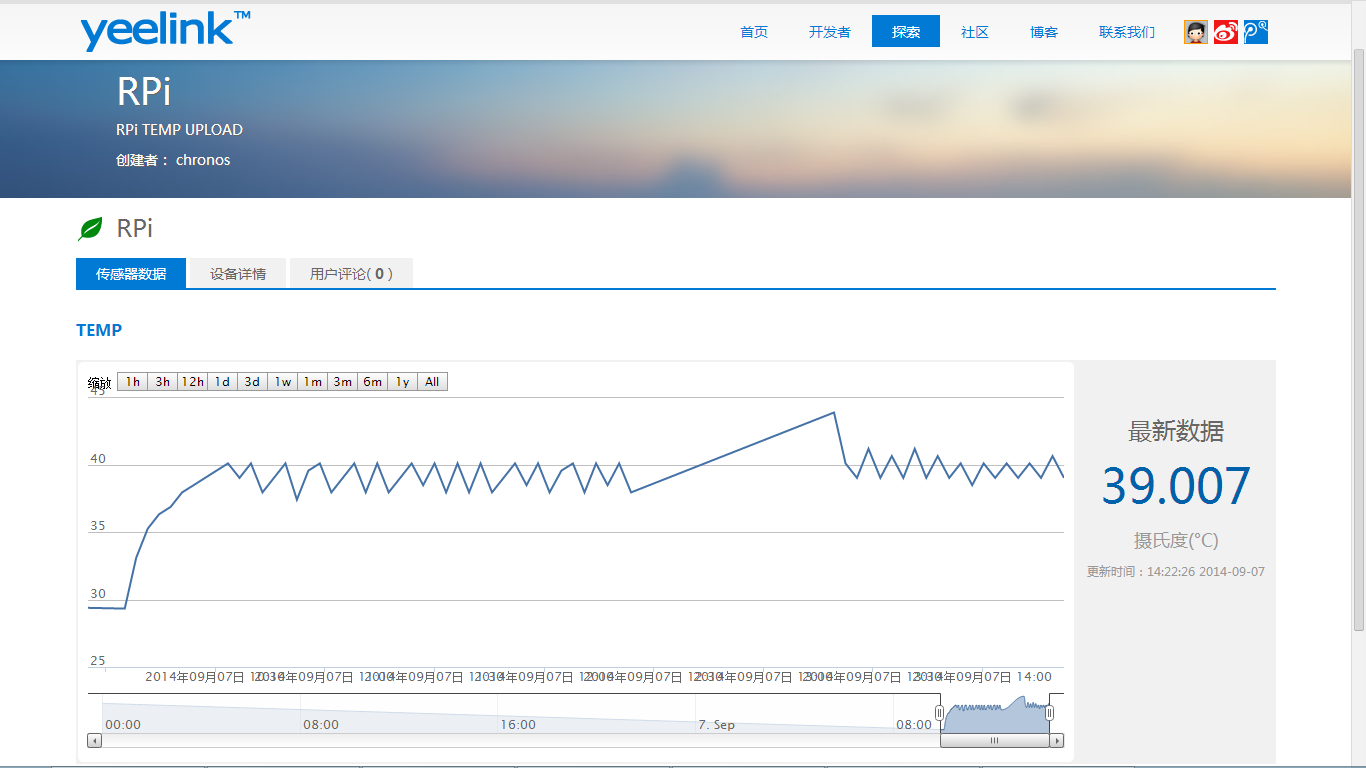
4、重启,等待或干点儿别的(陪陪LP什么的^_^),之后我们来查看一下效果
5、总结
温度高低的设定还是要看实际的需求、工作的场合,以及降温系统的能力,希望这个温控装置的实验能给大家一个启发吧~~
配套的小风扇:SEPA MFB30A-05 DC 5V 0.2A
室温:25℃,待机半小时CPU在43℃左右,开启风扇10分钟后下降到33℃左右,数据供大家参考
mission accomplished!


 我要赚赏金
我要赚赏金 STM32
STM32 MCU
MCU 通讯及无线技术
 物联网技术
物联网技术 电子DIY
电子DIY 板卡试用
板卡试用 基础知识
基础知识 软件与操作系统
 我爱生活
我爱生活 小e食堂
小e食堂

