

锂电池万能充,DIY的铭牌,DIY的型号。

充电板正面

充电板背面
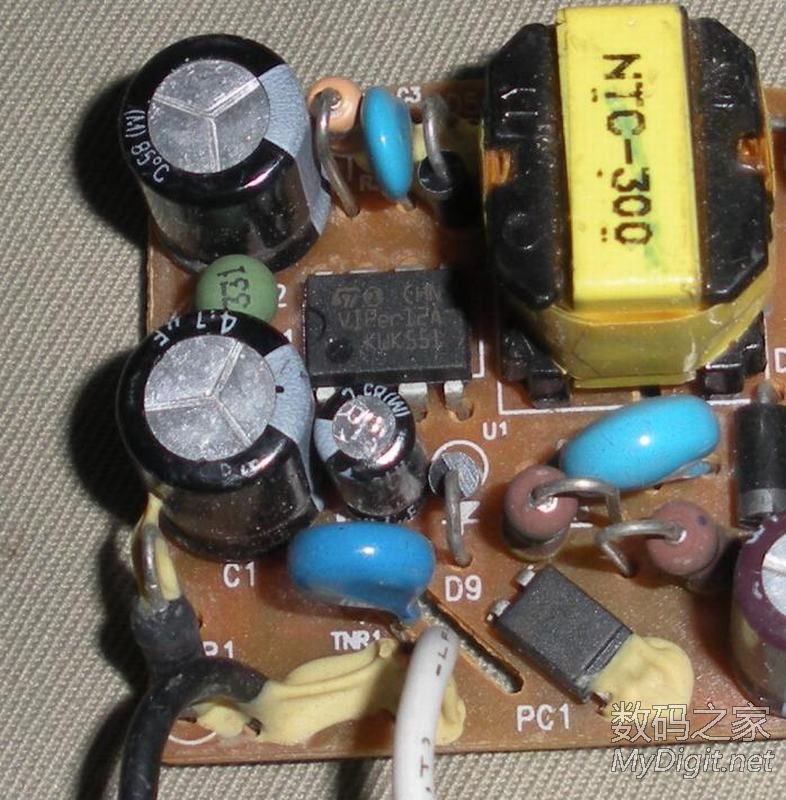
高压部分正面,IC用的是VIPer12A

高压部分背面

充电部分正面,带热保护功能

充电部分背面,采用单片机ST62T01C6与运放LM358CS控制


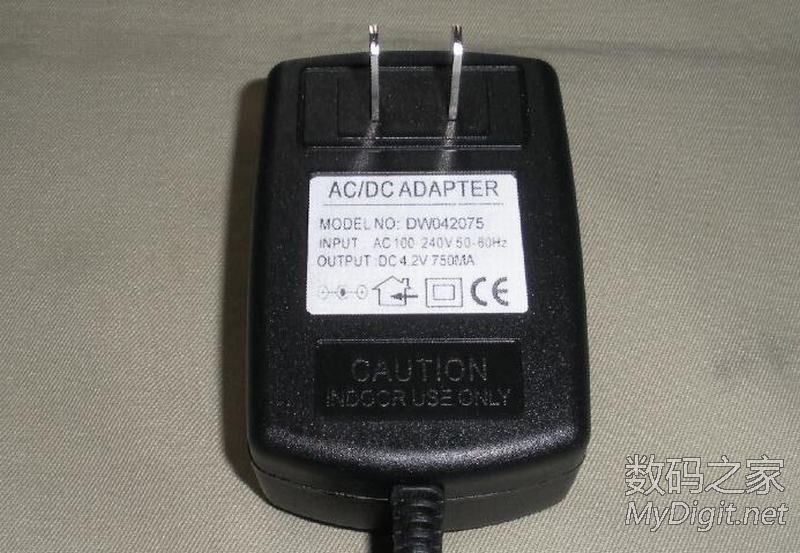
电源外壳

5.5-2.1mm接口的DC线

共阴红绿双色发光二极管,可根据管脚长短知道管脚极性,最短绿色阳极,次之红色阳极,最长共阴极;共阳极红绿双色发光二极管也可如此判断

2.2KΩ(红红红)的识别电阻,1/8瓦的,个头比较小

根据双色发光二极管管脚极性,焊上相应颜色识别延长线

输出接线示意图

根据输出接线示意图进行焊接,并做好绝缘保护(2.2KΩ的识别电阻是套上热缩管后焊接的)

全部焊接完成

根据指示灯的实际位置,在电源外壳背面钻孔

将连接好的充电板放入电源壳内,充电板下面要做好绝缘(用的是饮料瓶外皮),测试无误后,将电源外壳扣紧

背面

正面

铭牌
成品

自制专用充电线

充电中
注:之所以输出使用的接口为5.5-2.1mm公头的DC线,是为了提高充电器的扩展性,利用上面的充电线配合那种带夹子的三灯万能充外壳,可对锂电池充电;配合18650电池盒,就可对18650锂电池充电。

对18650锂电池充电

对手机锂电池充电
结束!谢谢赏评!
 我要赚赏金
我要赚赏金 STM32
STM32 MCU
MCU 通讯及无线技术
 物联网技术
物联网技术 电子DIY
电子DIY 板卡试用
板卡试用 基础知识
基础知识 软件与操作系统
 我爱生活
我爱生活 小e食堂
小e食堂

