

主机背面。

真正的SCPH-7501

壳子打开了。

这是CD舱开关。

CD舱门阻尼器,让CD舱缓慢打开。

上盖打开后全貌。

先来看电源板。这个电源板是220V输入的,可以直接插市电。

貌似重复了?

电源板拆出来。

这是几台机子里按着手感最好的电源开关,97年3月22日制造,这个开关不知道哪里有卖,知道的麻烦告知一声,谢谢啦!

滤波电容们。

Panasonic的开关变压器BL127A,不知道和BL115A有什么区别,110V能改成220V否?

开关管,三菱的FS2KM。
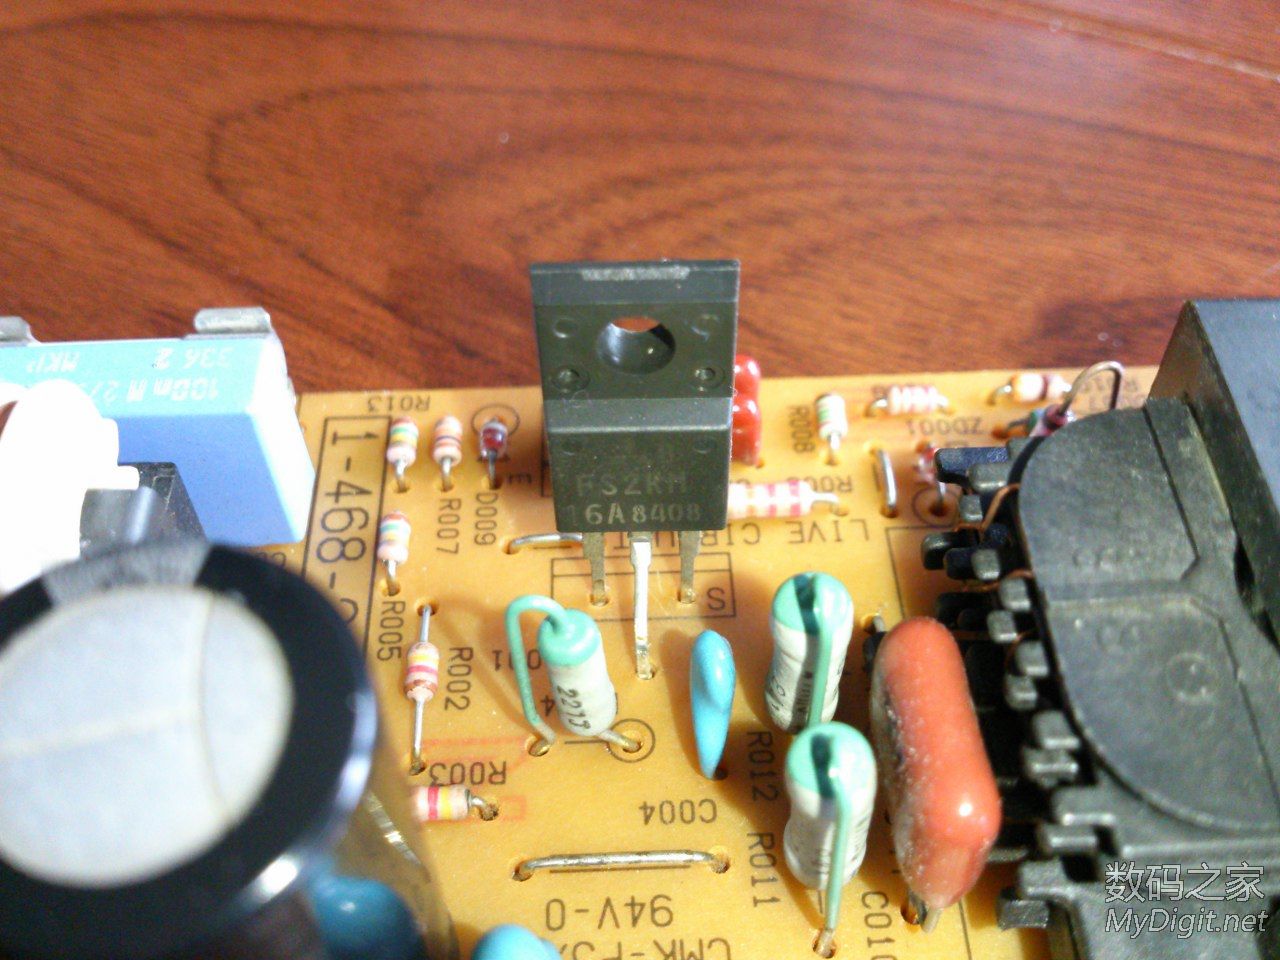
扼流线圈,和整流桥,还有主滤波。

另一边,陶瓷保险管。

电源板背面,4个红色的东东...

就是它了,0.1UF 63V的红色WIMA电容,放在这里是作为直流输出滤波,让主板得到更纯净的直流电。

这块电源板我原来是用在SCPH-1001上面用来播放CD光盘的,后来因为1001要改造,所以拿过来7501这里,220V输入方便嘛!

剩下主板了,上面依然是厚厚的铁板屏蔽罩。红色的是这次的拆机工具PB一字螺丝刀,我经常用它来开十字螺丝。

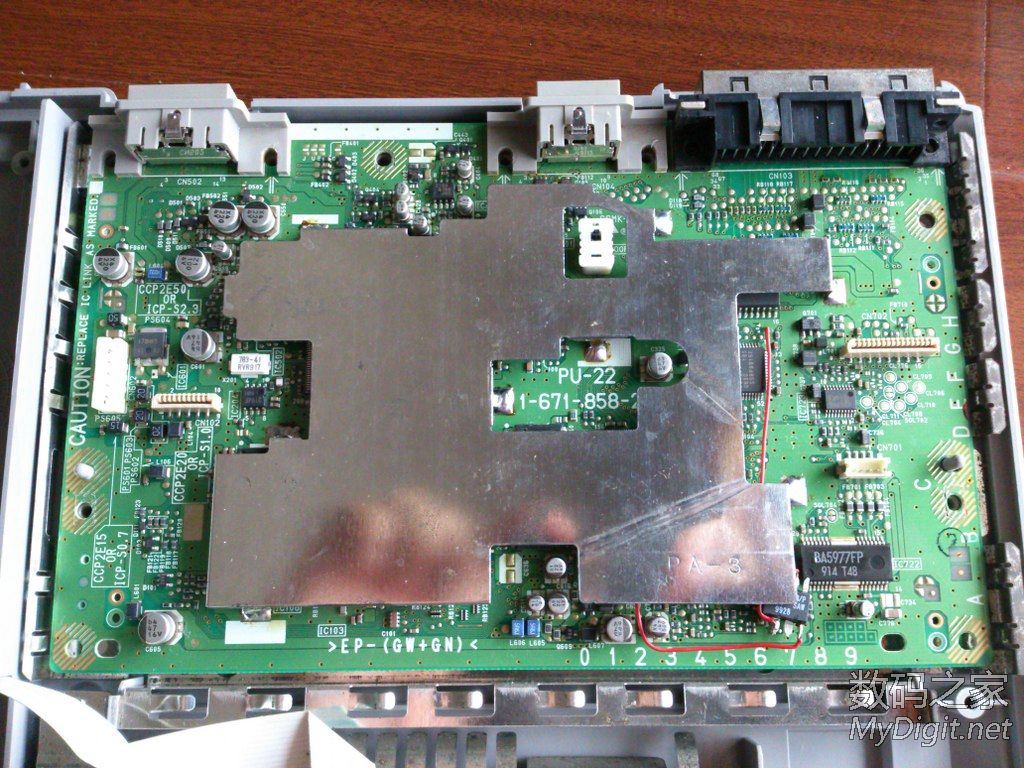
揭掉屏蔽罩后看到主板了。
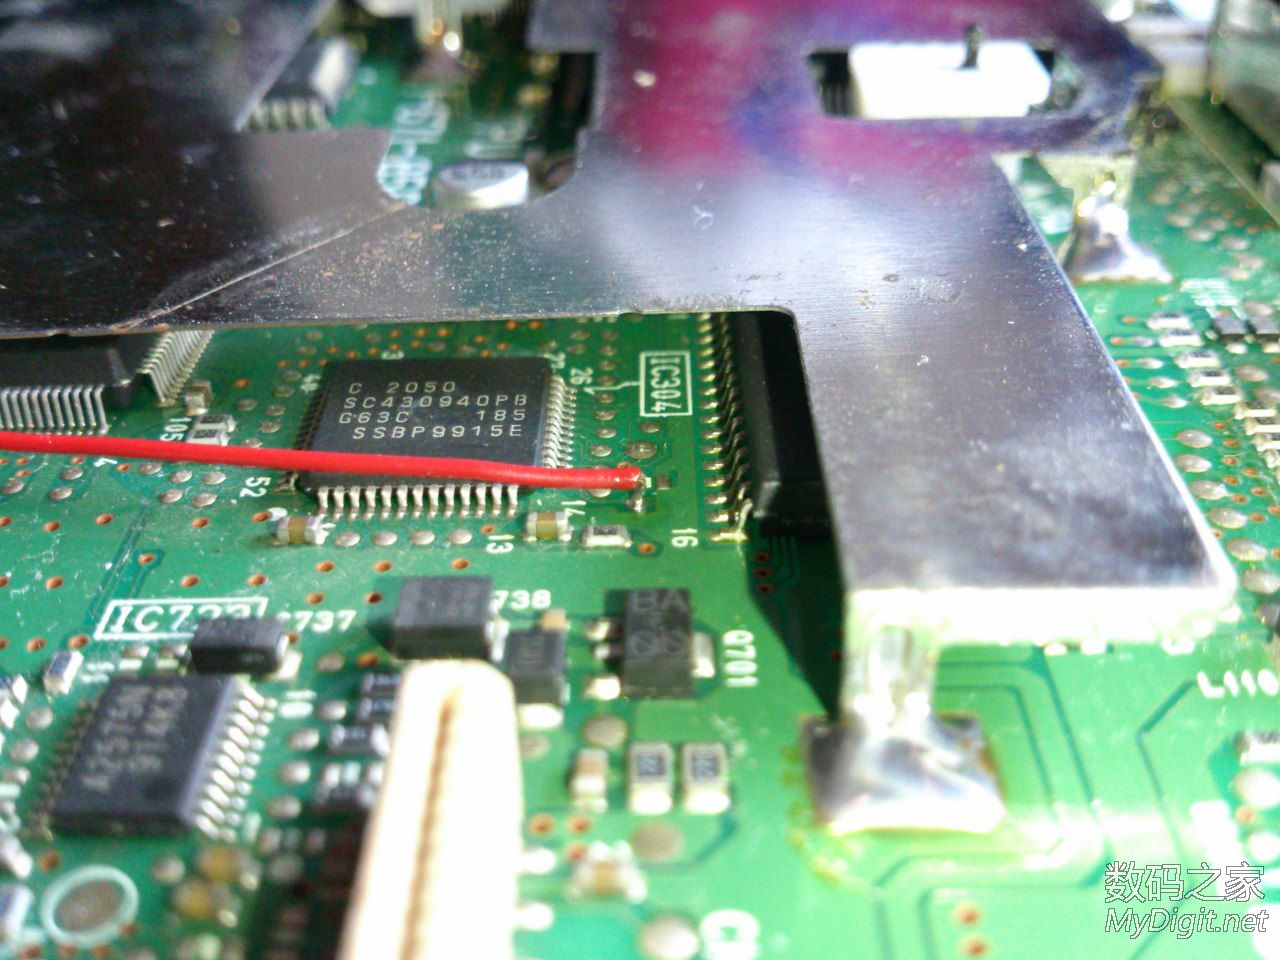
哈哈!直读芯片...

这个是我自己装上去的,店里焊接工艺差,自己焊的。

焊点特写,很小很小。
固态电容?


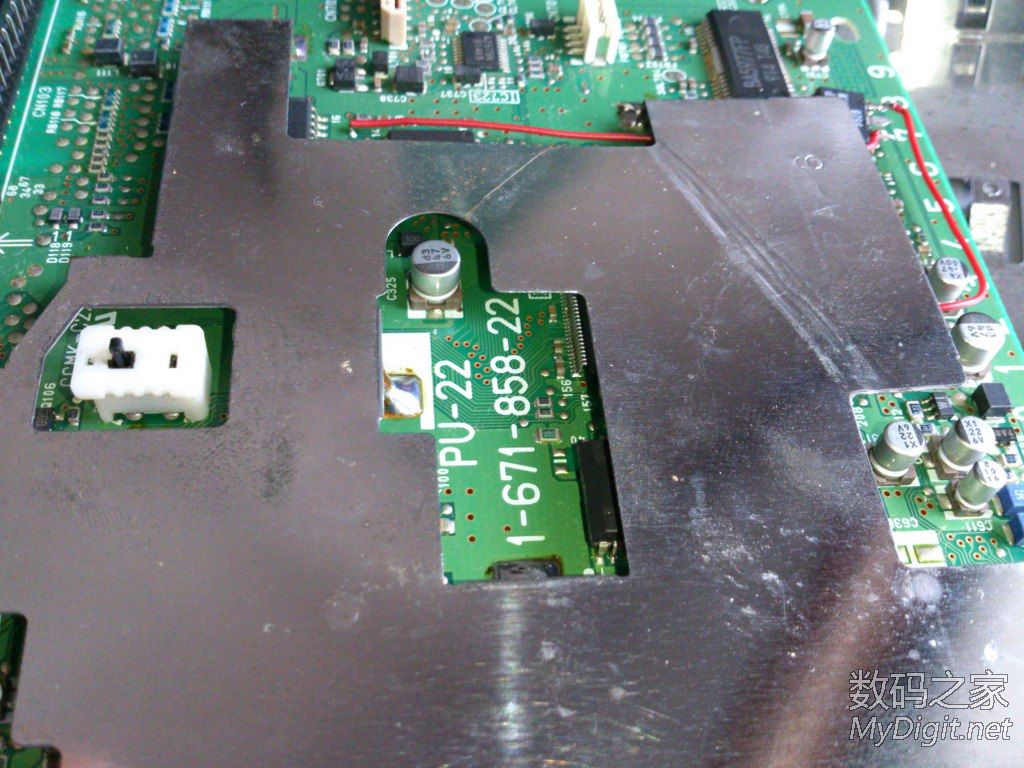
PU-22就是SCPH-7501的正牌主板!
接口处有防磁触片。

这个也有。

金手指插座上也有。

 我要赚赏金
我要赚赏金 STM32
STM32 MCU
MCU 通讯及无线技术
 物联网技术
物联网技术 电子DIY
电子DIY 板卡试用
板卡试用 基础知识
基础知识 软件与操作系统
 我爱生活
我爱生活 小e食堂
小e食堂

