
在此分离前壳步骤省略。分离后触摸屏也很难配,淘宝上所谓的原厂触摸屏,支持客服验证都是瞎掰,其实都V987的山寨外屏,尺寸比U956的大一点(U956的宽度是67.2,V987的是68,而且触控IC也不一样,虽然有些能用,但触控效果很差)。
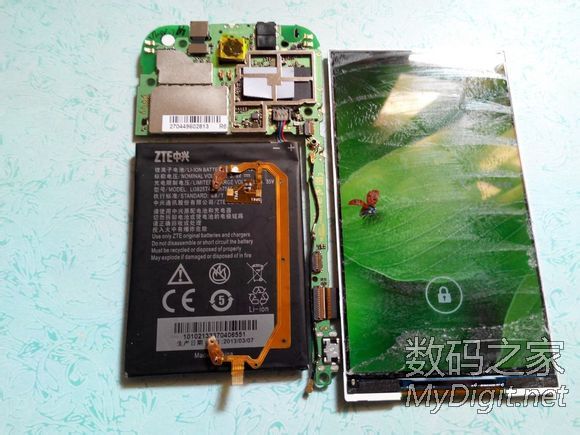
如下已成功分离前壳,正常开机,触摸不能用。

屏和前壳很难分离。分离后测试正常。

采用的是全贴合工艺,好像是OCA胶。

底部的实体键部位。有些机友的实体键灯不亮其实和屏无关,灯在前壳上,是可以换总成的。

两屏之间不到一毫米。

分离后的样子,显示屏真的很薄。
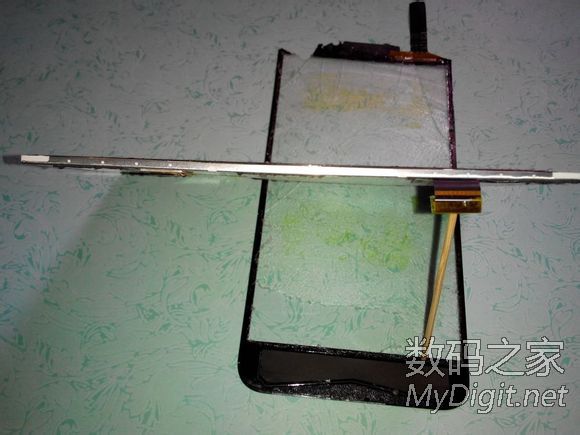
玩美分离。

分离用的0.1金刚丝和加热用的铝板。温度控制在手感烫但能保持3~5秒。胶很黏。掌握力度3~5分钟就能顺利分离。

分离后试机,正常。

还没除胶的效果。
用OCA除胶液完美除胶的样子。除胶也很有技巧不然液晶屏会渗有水渍。

显示清晰靓丽。
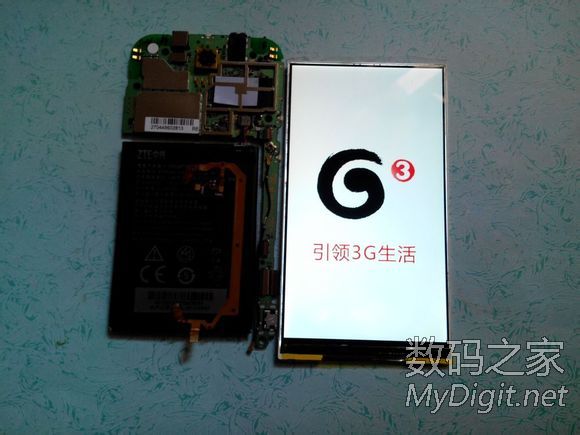
等待安装合适触摸屏。(在手机配件市场找了几家号称原厂触摸屏的商家基本不能用,不是触控不灵就是根本不能用。而且宽度比前壳都宽,根本装不下)

其实很多机友喷中兴U956的屏黄,其实和用的OCA胶有关,可能用胶的问题,机器用一段时间后屏黄有所改善。友情提示:动手能力差请不要自行分离,99%内屏会被拆坏。
 我要赚赏金
我要赚赏金 STM32
STM32 MCU
MCU 通讯及无线技术
 物联网技术
物联网技术 电子DIY
电子DIY 板卡试用
板卡试用 基础知识
基础知识 软件与操作系统
 我爱生活
我爱生活 小e食堂
小e食堂

