
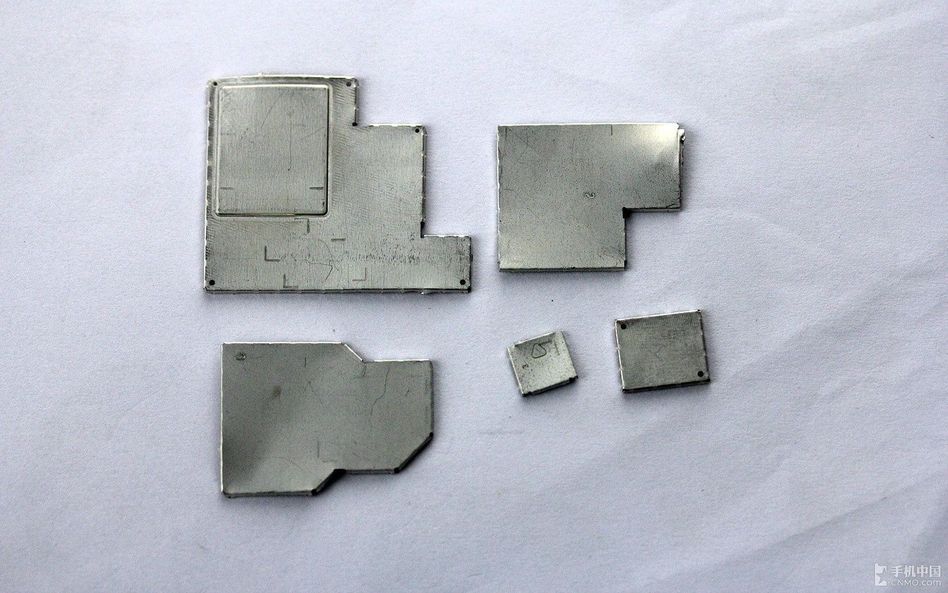
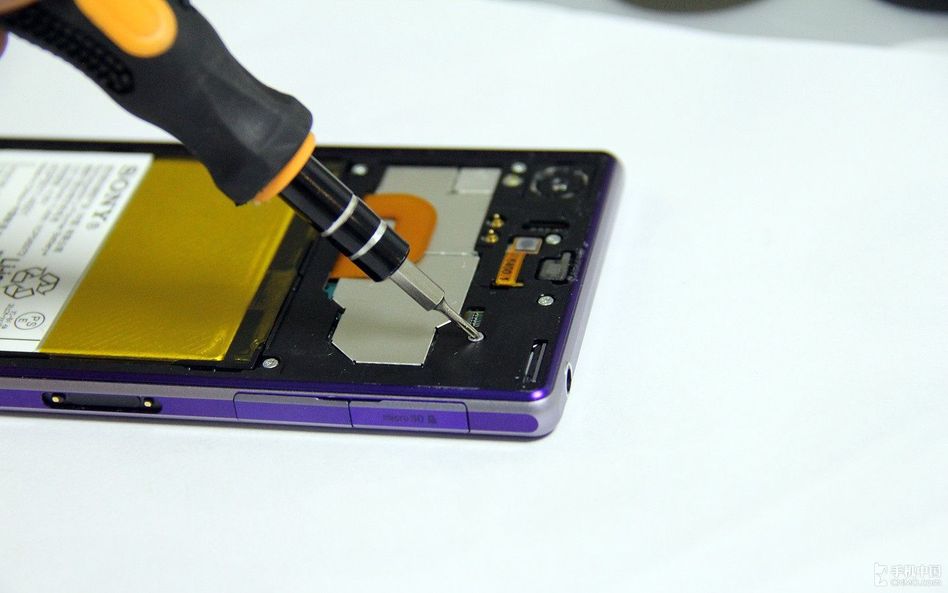
当然了,为了更深入的了解Xperia Z1的芯片信息,我们需要取下主板上所有的屏蔽罩,虽然没有什么太简洁的方法,但还是切记动作要轻柔,要提前为还原工作做好准备。
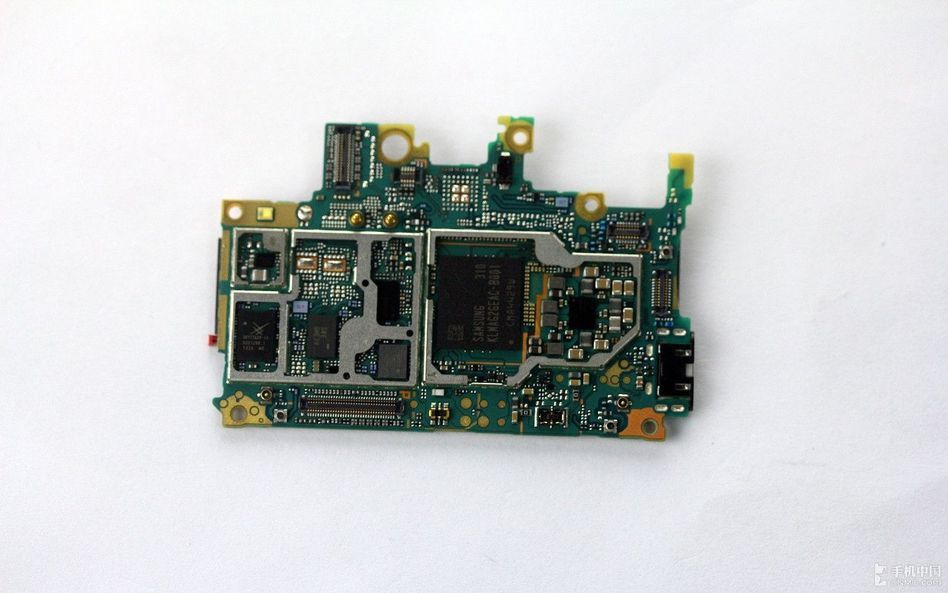
图为取下屏蔽罩的主板正面。
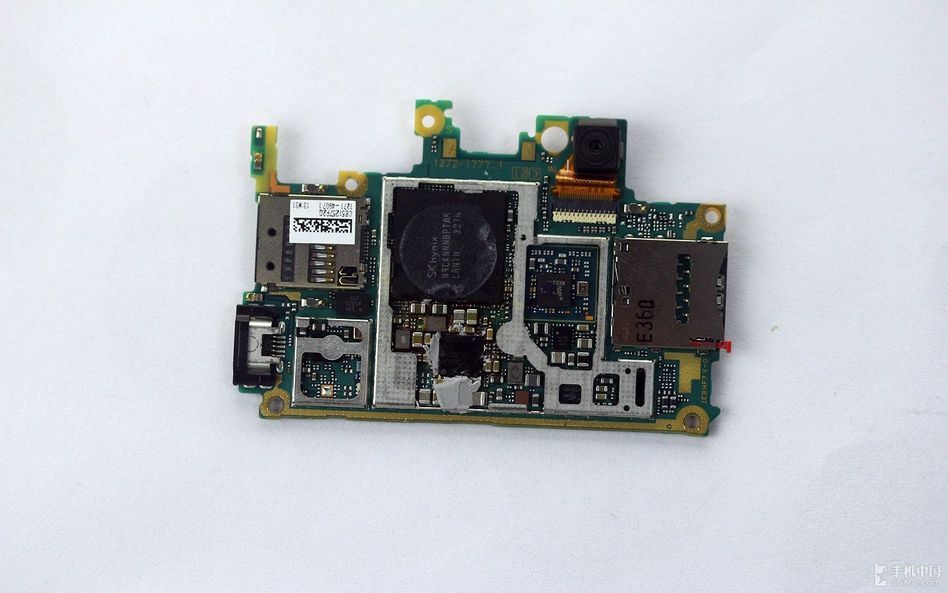
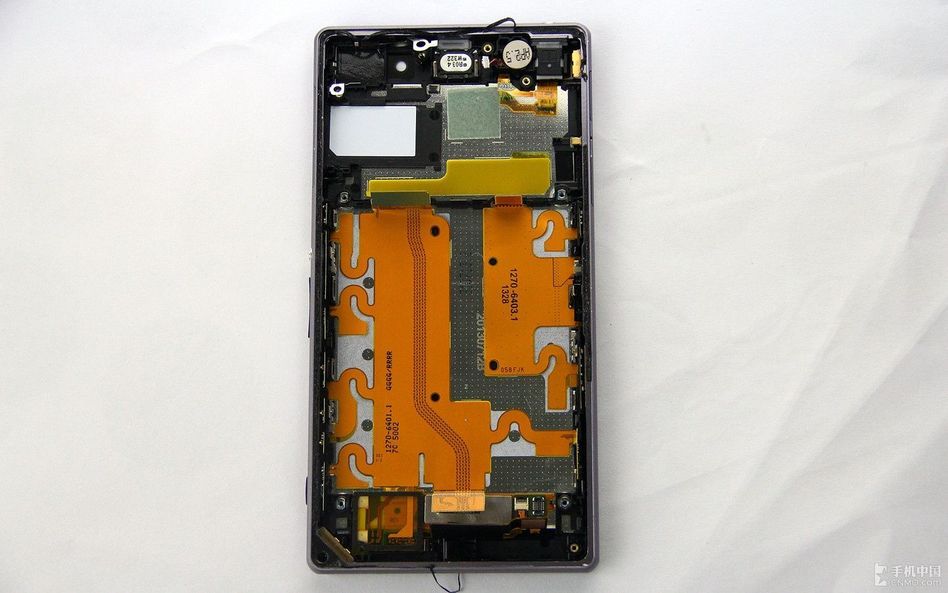
取下屏蔽罩的主板背面图。
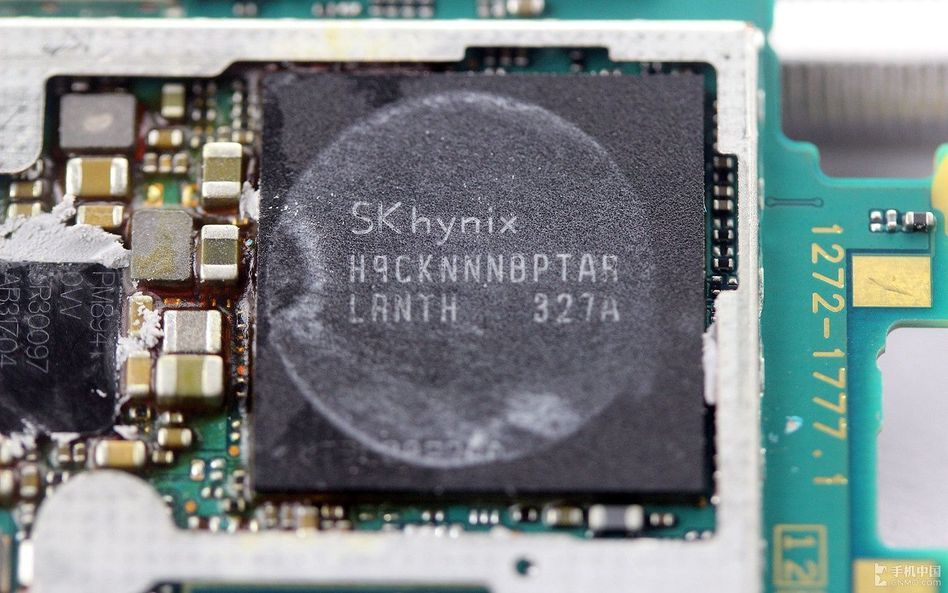
既然我们已经把所有屏蔽罩打开了,下面就让我们详细解读一下主板上的芯片信息吧。首先从Xperia Z1最重要的CPU开始。貌似现在很多厂商都把CPU和运行内存放到了一起,图中我们只能看到一块容量2GB的SK海力士H9CCNNNBPTARLANTH 327A运行内存芯片,2.2GHz的高通骁龙800处理器就和这枚芯片封装在一起。

图为三星 310 KLMAG2GEAC-B001内存芯片,容量为16GB。
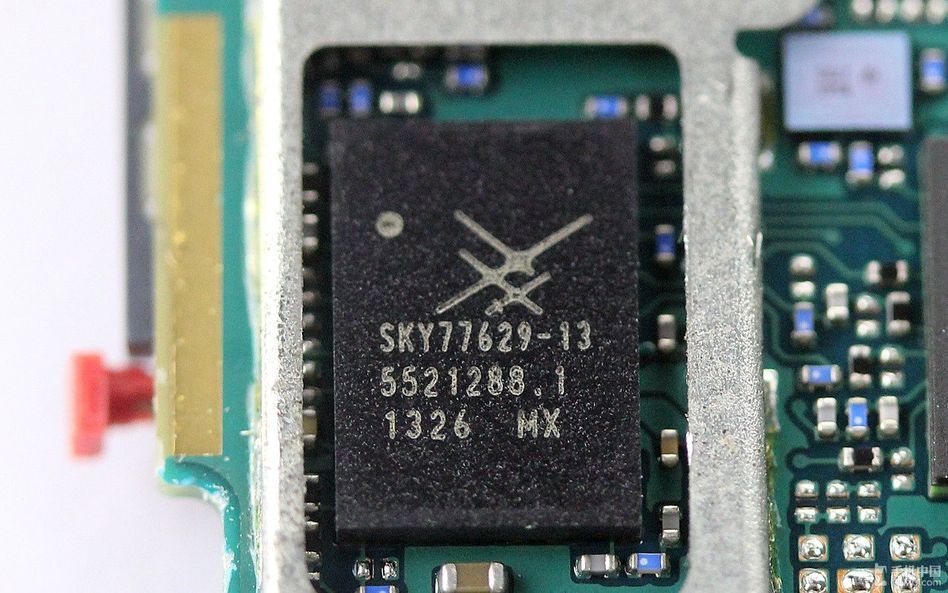
此图为Sky77629信号功率放大器特写图。
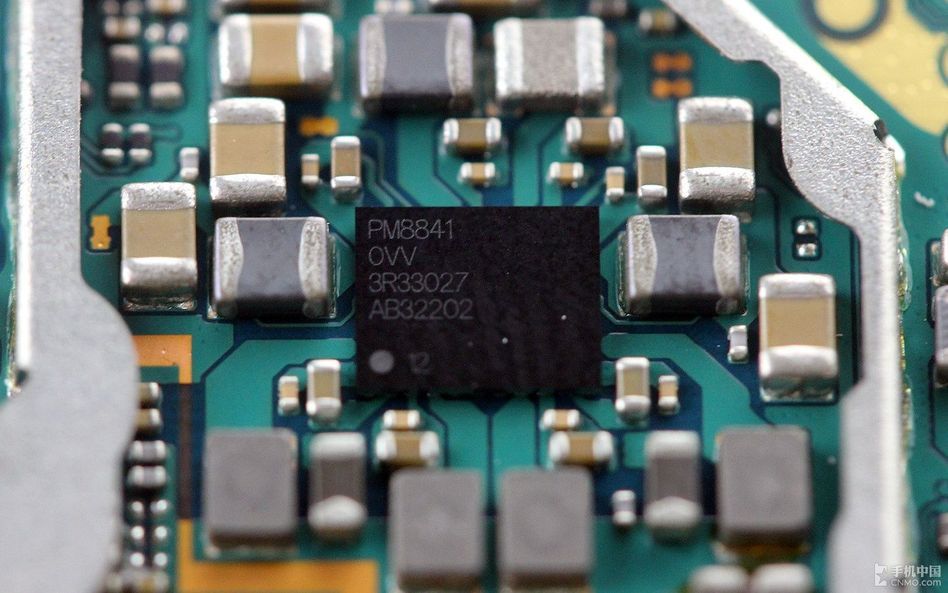
型号为PM8841的IC芯片特写图。
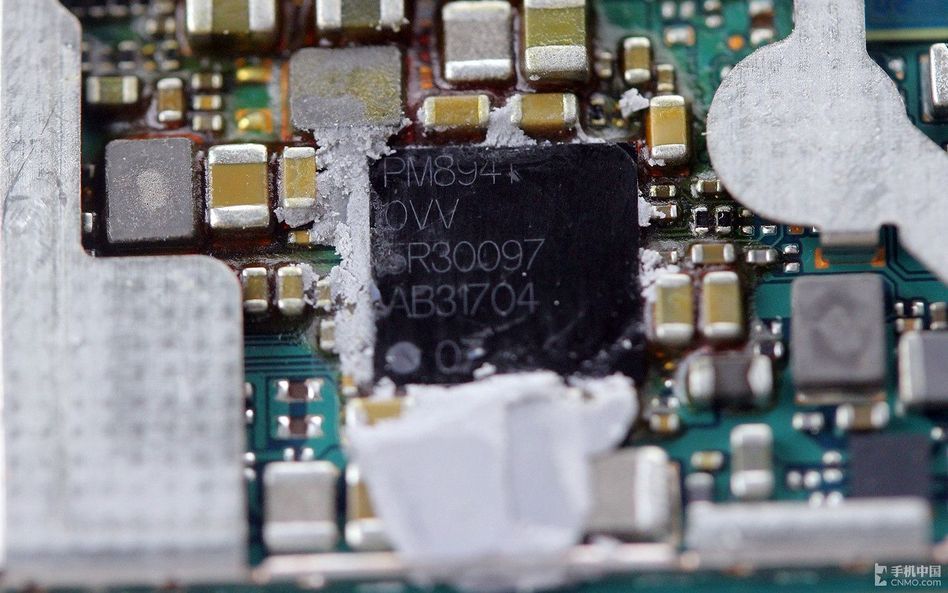
图为高通PM8941电源管理芯片。

由于Xperia Z1的前置摄像头与主板贴合较为紧密,所以笔者并没把它取下来。图为该机前置镜头特写图。
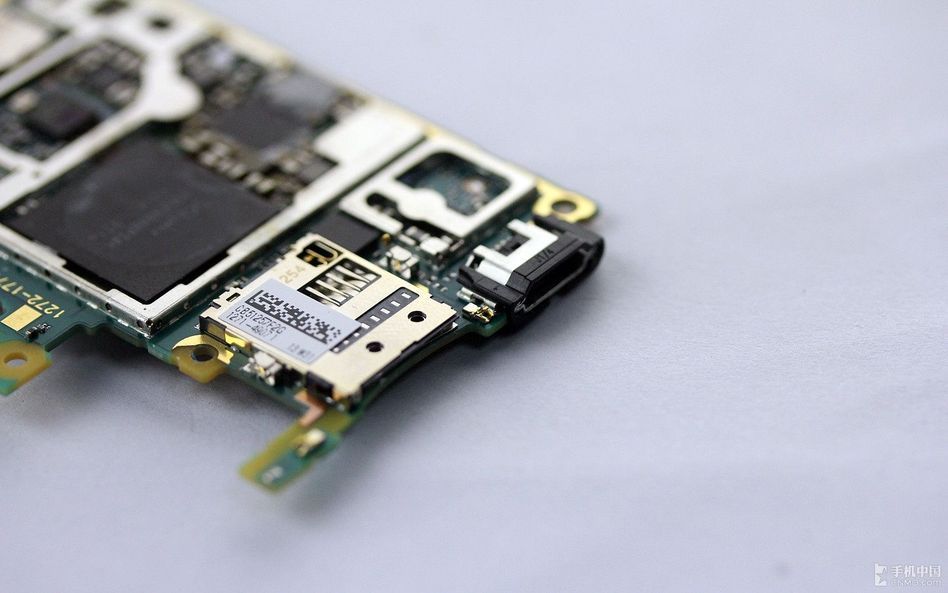
图为主板上的mirco USB接口和mirco SD卡槽。
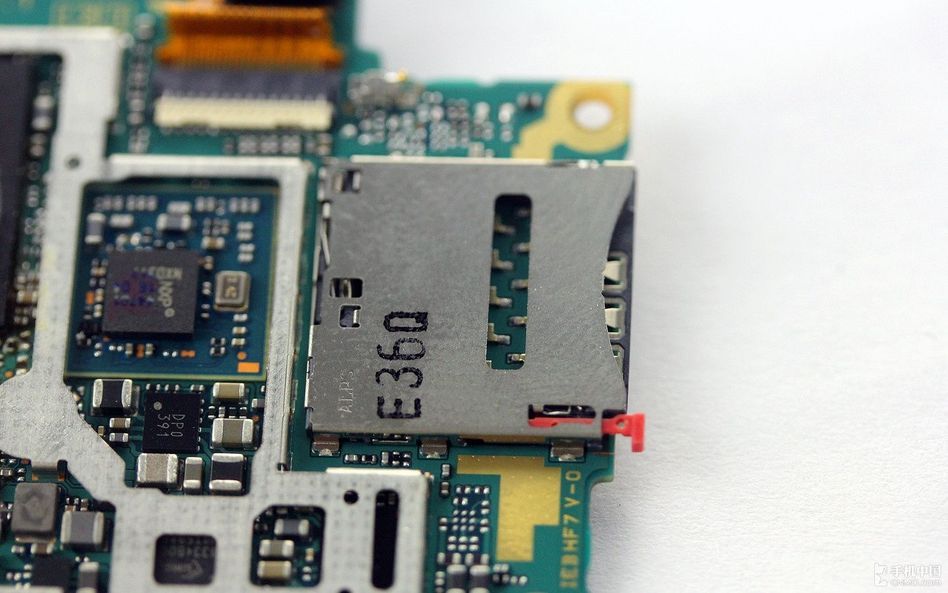
图为Xperia Z1的mirco SIM卡槽。
取下所有主板之后,屏幕面板上还留有一些固化在上面的零部件。
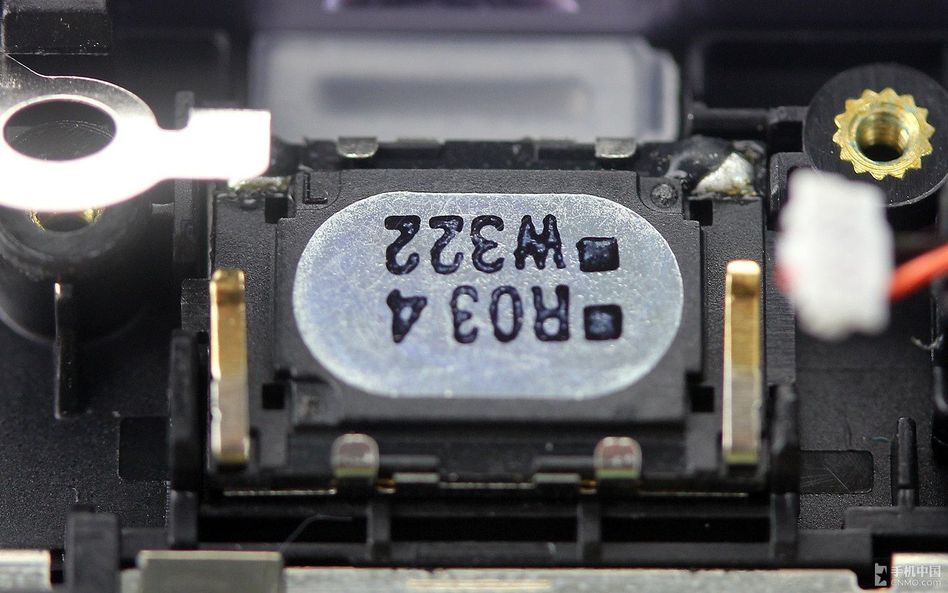
图为Xperia Z1的听筒特写。
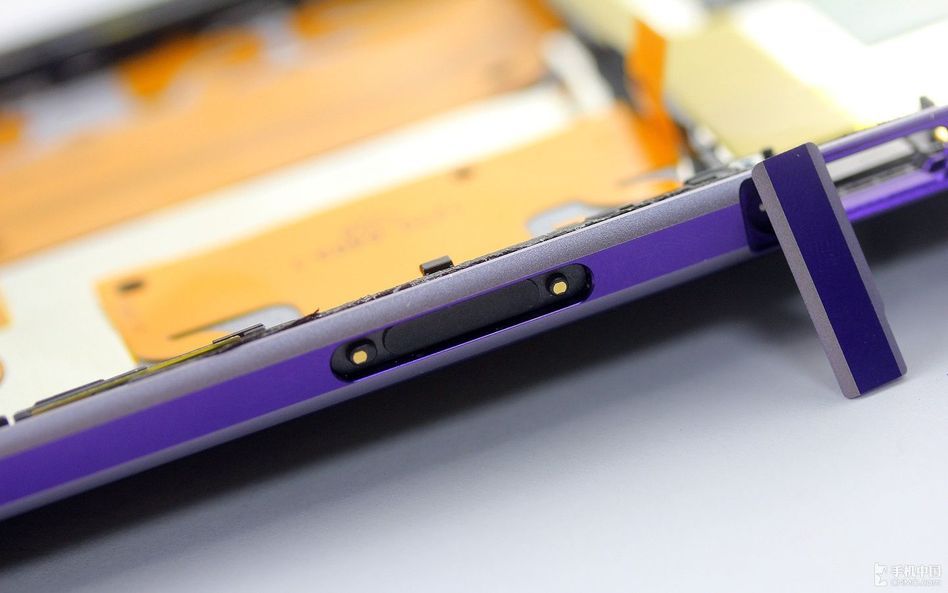
延续了XL39h的传统,Xperia Z1的侧边同样拥有一个可供无线充电使用的接口。
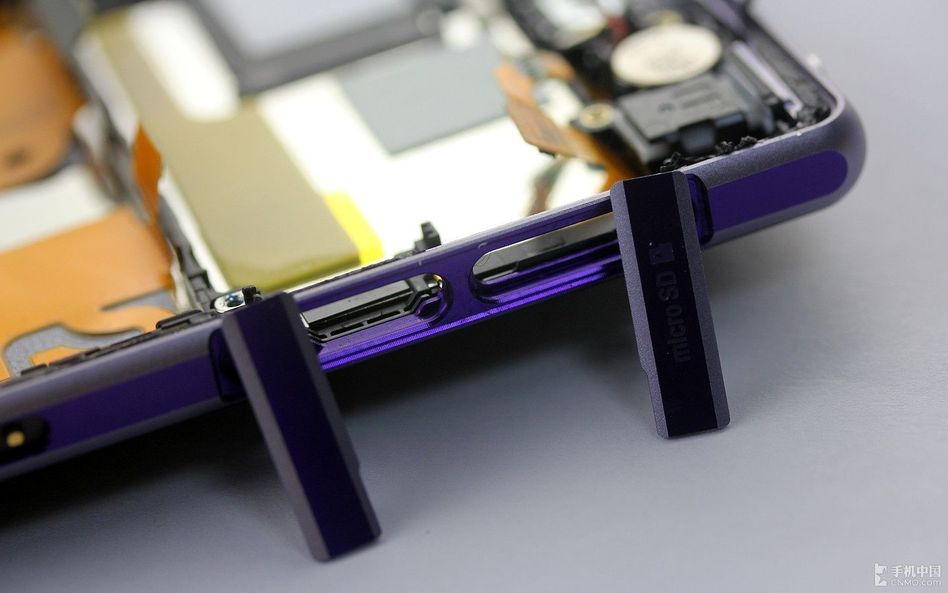
图为Xperia Z1为mirco SD和mirco USB预留的接口。
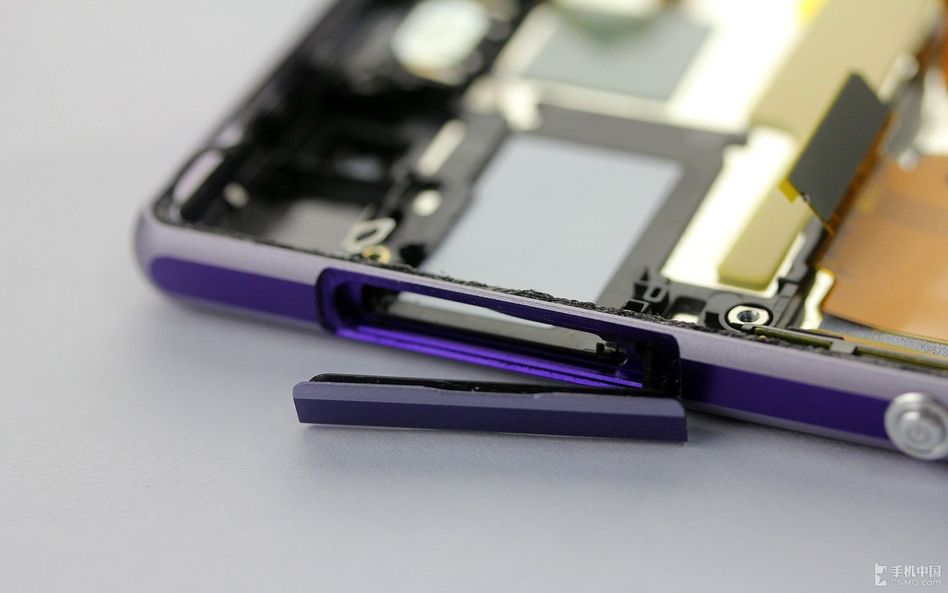
图为Xperia Z1的mirco SIM卡接口。
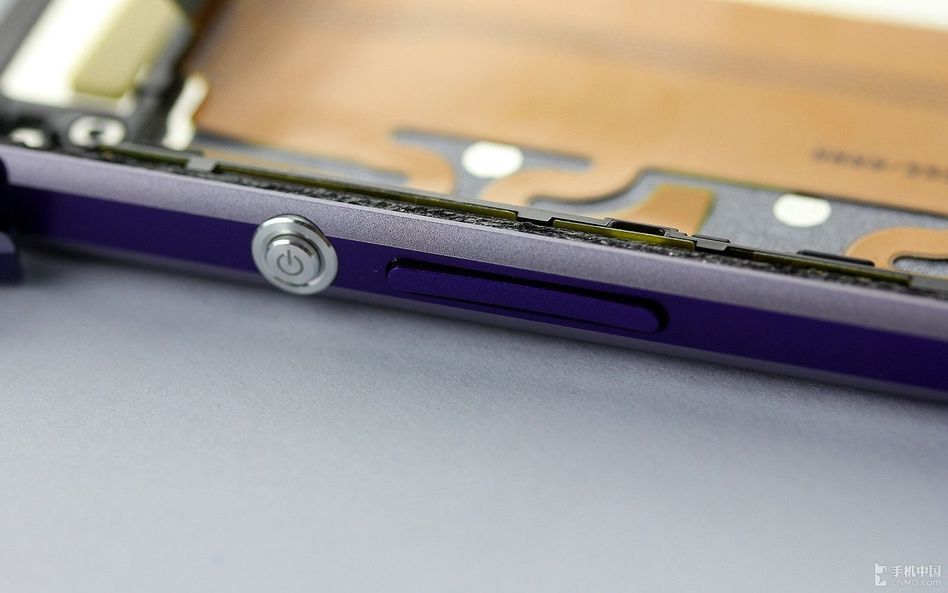
Xperia Z1的电源键和音量键距离很近,这样设计也非常适合单手操控。
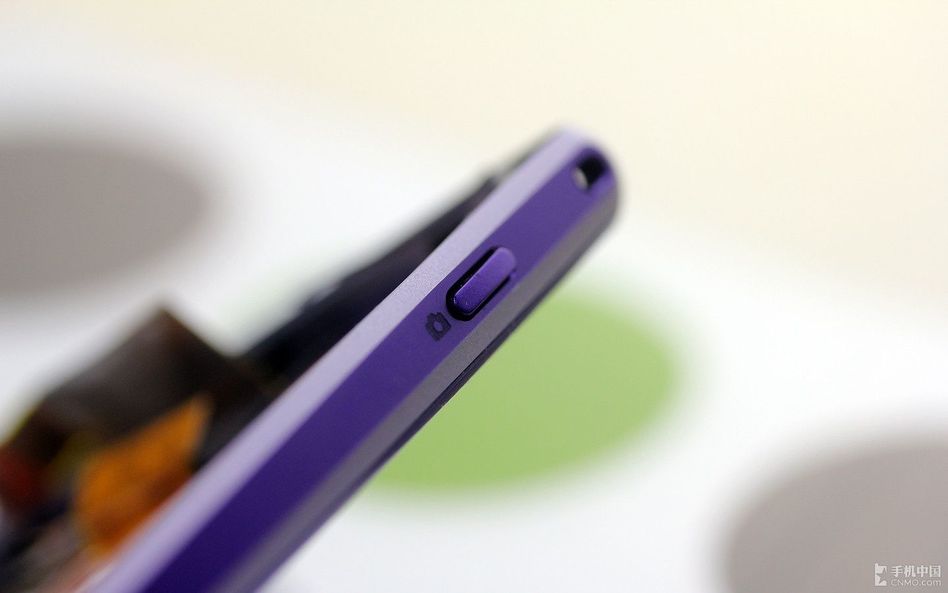
独立快门键的加入,也让原本三防的Xperia Z1可以实现水下拍照。
Xperia Z1拆解全家福。
全文总结:虽然Xperia Z1是一款三防手机,但除了粘合较为严紧之外,拆解起来并没有过多的困难,这也非常有利于日后的维修工作。不过考虑到日后的三防性能,索尼Xperia Z1恢复起来却有点费劲,因为之前拆解时需要一些蛮力,而恢复时一些胶纸或是没有粘合力了,或是已经被损坏了,总之如果还想恢复到一起的三防性能的话,恐怕还需要重新封上一圈新的专用胶纸了。
 我要赚赏金
我要赚赏金 STM32
STM32 MCU
MCU 通讯及无线技术
 物联网技术
物联网技术 电子DIY
电子DIY 板卡试用
板卡试用 基础知识
基础知识 软件与操作系统
 我爱生活
我爱生活 小e食堂
小e食堂

