
以为是潮湿的问题,便用热风筒使劲吹了好几分钟
无果,但nnd的坏的按键还更多了

无奈之下唯有在某宝花了40大洋买了一个新的,
旧的拆开供大家观赏···

拆之前忘记拍了,这是后来补的图

拆的时候键盘上排有4个扣子,分别用工具撬开就能拆下

这是键帽拆了一半的,要拆开一定要把全部键帽扣下来

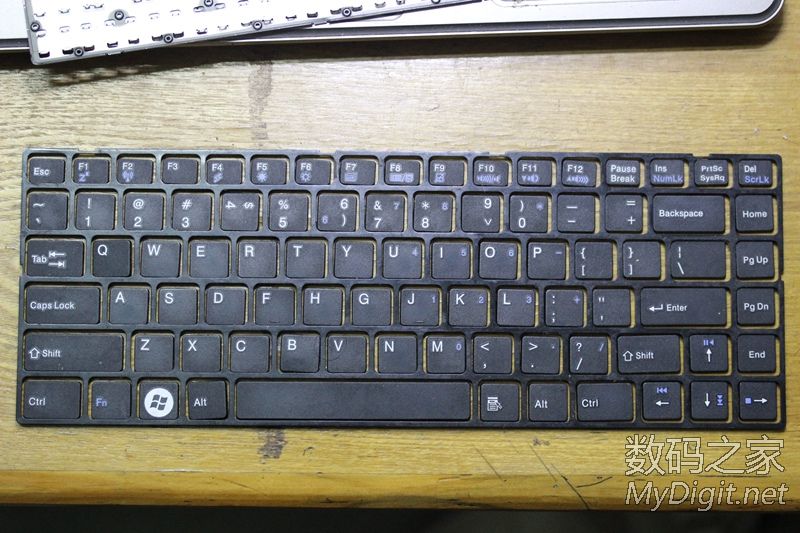
扣了大半个小时,终于扣完啦···来张正面照

再来张背面照

型号··不知道是啥·
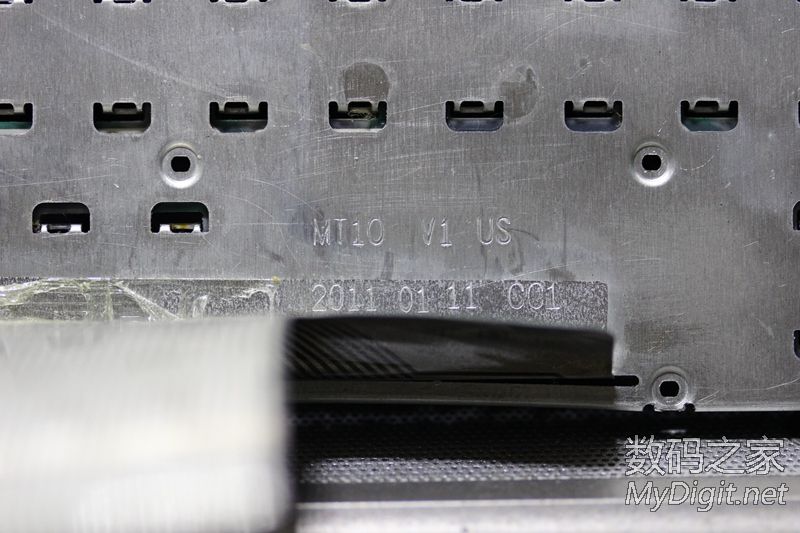
把胶水粘着的排线用热风筒吹开,底板好像是2011.01.11产的

线排好像是2011.01.13产的??

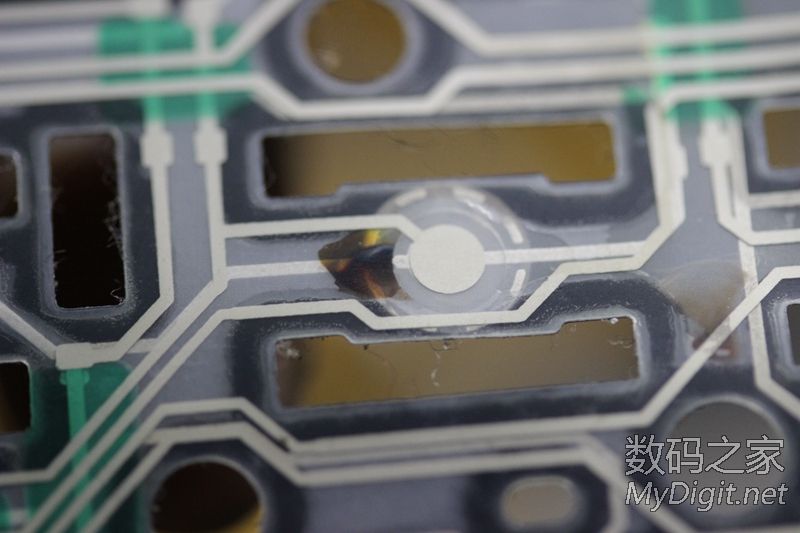
把按键胶垫从底板上取出,好像有点发黄啊
来个特写,难道是因为这些原因失灵的?

这个胶垫好像是2011..01.12生产的

不知道什么型号

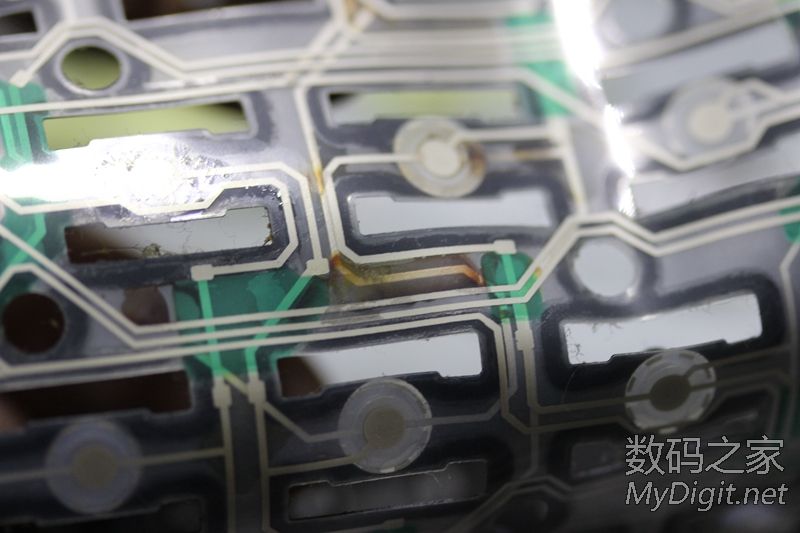
还没拆开,看不清哪个是top 哪个是bot·不过大家也能猜到了
又抓拍到一个发黄的特写了··这黄色物体怎么进去的··
我明明没有把菜汁撒上去啊


捣鼓了几下,觉得要拆就拆彻底,这个应该跟普通键盘的原理一样
也三层胶垫,上下两层是银触点,中间一层做间隔
胶垫是用胶水粘住的,只能用到割开了
一开始看到排线旁边有条缝,决定从这里开拆
图片:IMG_7413.jpg

从排线附近拆了几分钟,发现很难拆下
于是改变方向,从侧面入手

果然证明改变是对的,一下子就撕开了下层
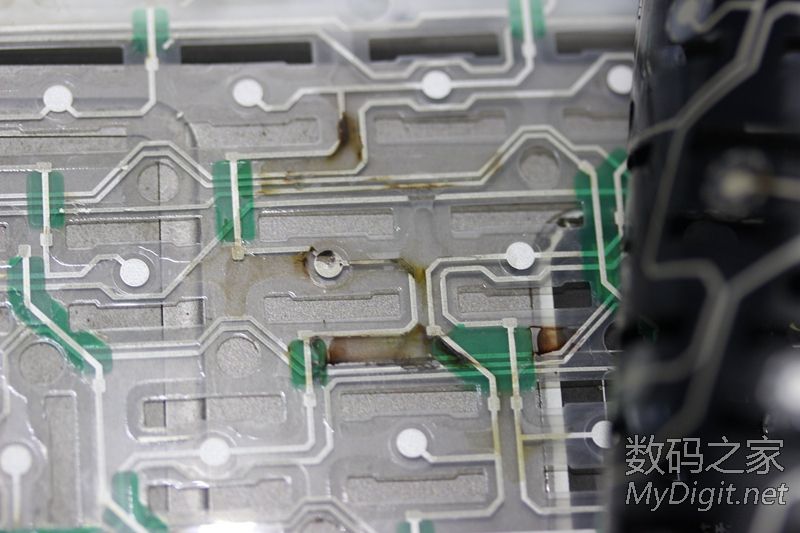
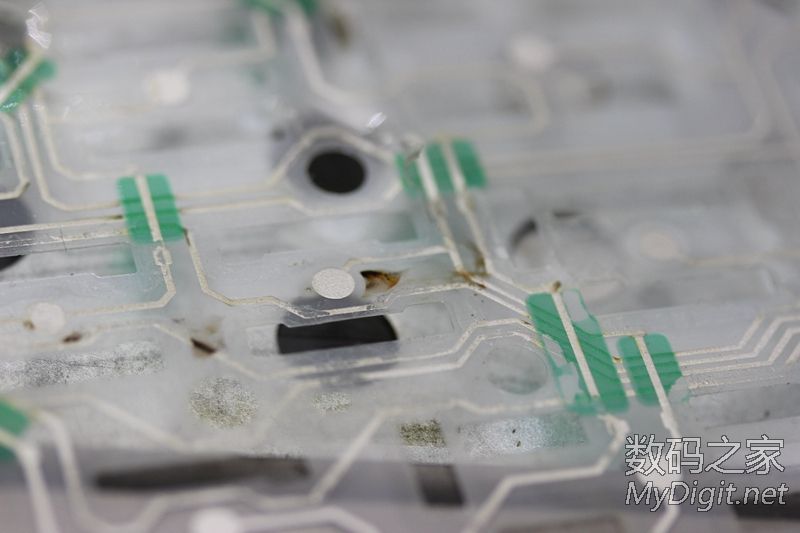
撕开后来个特写,脏东西都集中在下层···
我发誓肯定不是我的咖啡撒上去的

上层也来个特写,两边都脏··

哎呀不小心撕烂了···算了···反正不要的了

终于撕到头了,哇好爽快啊!看到一些线路是从这里过去的

到撕拆中间层了,中层用胶水粘住,很难无损拆开,
唯有暴力解决了
脏东西来个特写,之前搞错了,下层应该是最干净的,中层比较脏

特写
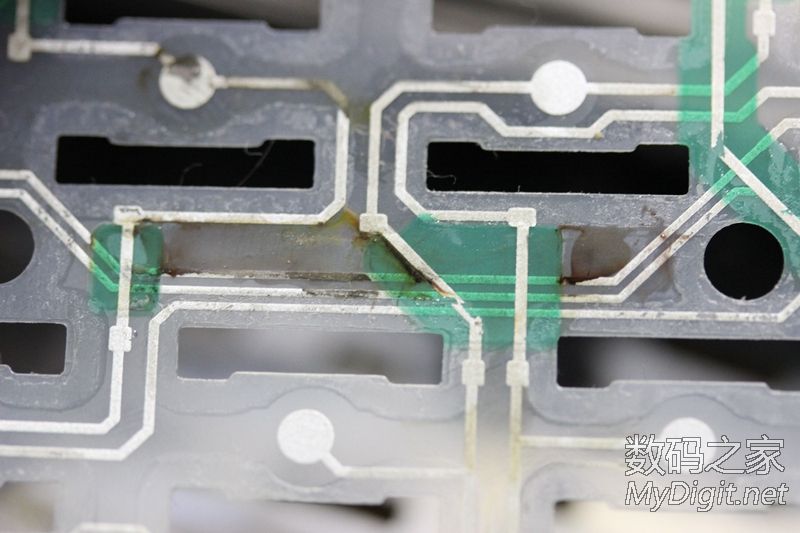
继续特写

来个全家福吧!
哎呀都撕拆烂啦!
楼主无聊,把键帽又重新摆好了
貌似错了好几个
大家来找茬!找对有奖哦!

楼主你有多无聊啊··
继续研究

把键帽拿出来看看

貌似就靠那么小的卡扣来限定键帽的行程的了

键帽连杆的特写
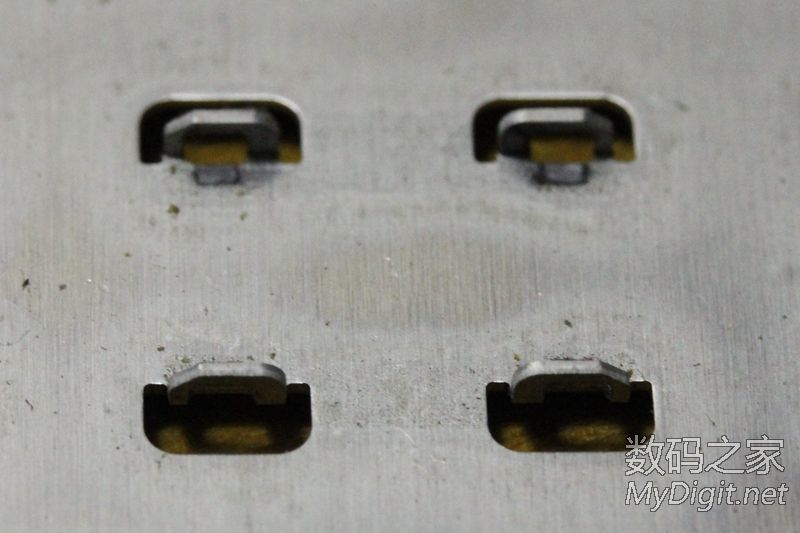
再补一张底板小孔的特写
连杆在上面可左右滑动啊
--------------------------------------------------------------------------------------------
华丽的分割线
-----------------------------------------------------------------------------------------------
随便展示一下新买的键盘

包装还不错,卖家保护得挺好

又不知道是什么型号了·

有几个键是蓝帽的!蓝精灵么··

装机能用,相比原来的手感偏硬,但也很好用!
 我要赚赏金
我要赚赏金 STM32
STM32 MCU
MCU 通讯及无线技术
 物联网技术
物联网技术 电子DIY
电子DIY 板卡试用
板卡试用 基础知识
基础知识 软件与操作系统
 我爱生活
我爱生活 小e食堂
小e食堂

