
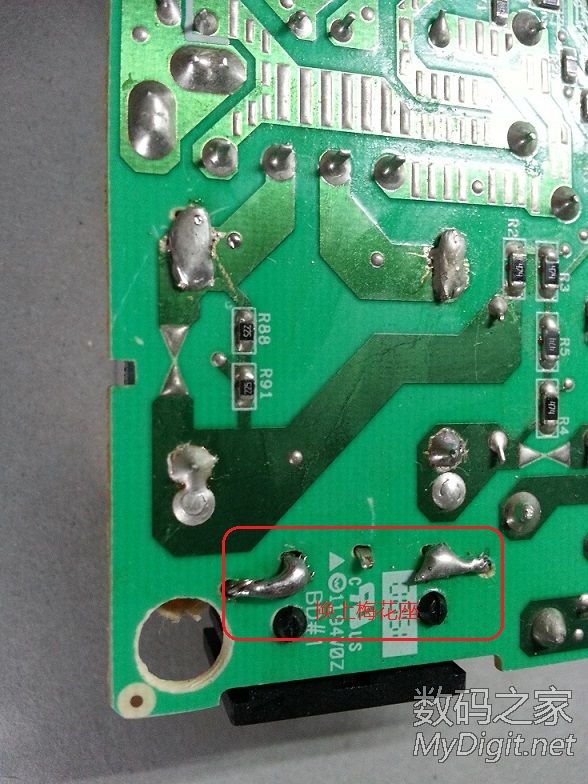
首先把32V电压改为24V左右,此电源有TL431(2.5A的没有431),找到相关电阻,R49(100K)和r92(360)相当于R1,R50(9.1K)与R68(120K)相当于R2,经过计算输出24V的话R2大约11.669K,把R50和R68焊下用22K和24K换上(相当于11.478K)这样计算电压大约24.35V,改完后空载实际电压24.1--24.3之间(不稳)输出接2K电阻电压24.3V稳定。
其次把输入端的8字插座换为三孔的梅花插座进行接地(参照HP32V 2.5A的接地),此电源感应电压比较高,感应电笔测显示220V,开始没敢改以为是漏电,把Y电容拆了并且把光耦换了,还是有感应电。所以不接地的话造成白光头还是会有感应电。随后就把8字座换为梅花座。
制作改造过程如下:
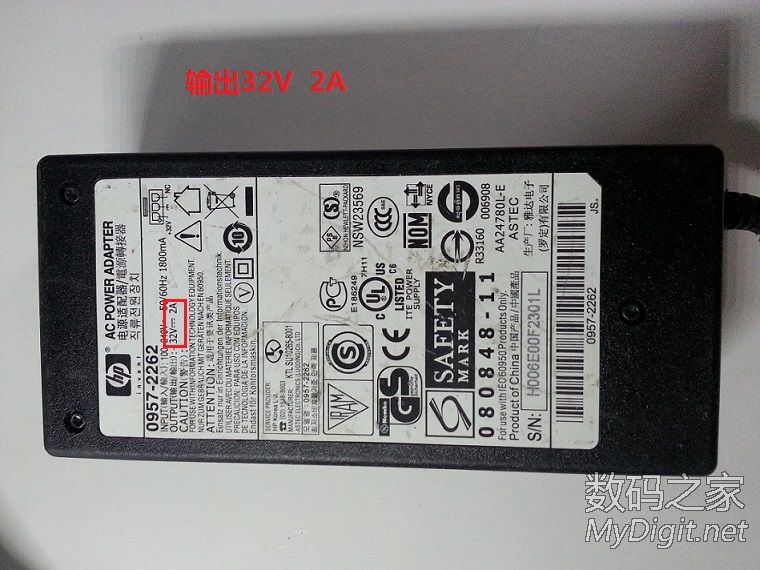
1 . HP32V 2A电源外观

2. 拆开换光耦和Y电容(换后还是有感应电,后来又把Y电容器焊上了)


3.换梅花插座,由于梅花座比8字座长点,安装不下被电感档住了,
 所以把电感拆下来往里面移动一点。
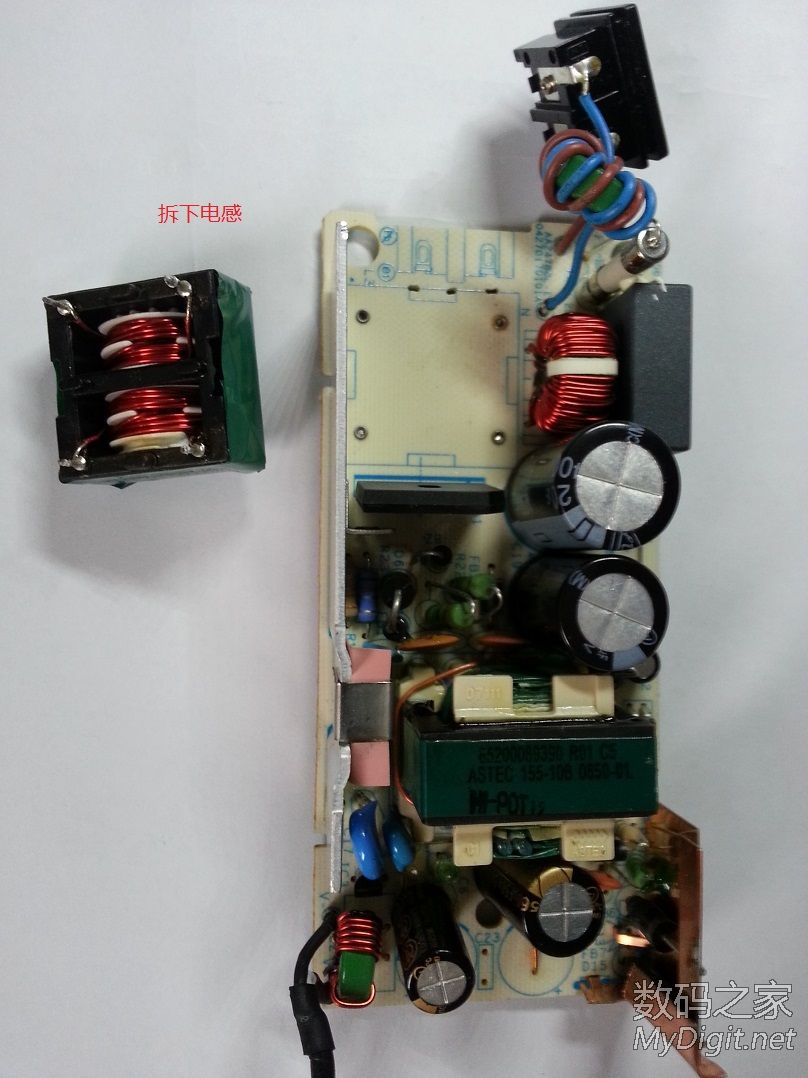


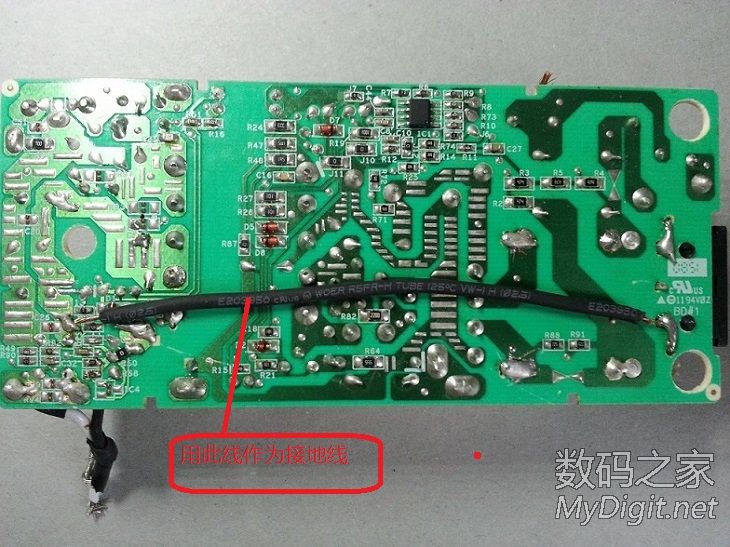
4. 用导线把输出端的“—”和梅花座的“地”焊起来。

5. 改电压,把R50和R68焊下用22K和24K换上(相当于11.478K)这样计算电压大约24.35V,改完后空载实际电压24.1--24.3之间(不稳)输出接2K电阻电压24.3V稳定。

6. 改造完毕,合上外壳看看,还不错。

 我要赚赏金
我要赚赏金 STM32
STM32 MCU
MCU 通讯及无线技术
 物联网技术
物联网技术 电子DIY
电子DIY 板卡试用
板卡试用 基础知识
基础知识 软件与操作系统
 我爱生活
我爱生活 小e食堂
小e食堂

